Every shore home has a spot where the party ends up. Ask anyone who has hosted a Thanksgiving weekend in Avalon or a Sunday brunch in Sea Isle City, and they'll tell you the same thing: no matter how beautiful the living room is, everyone gathers around the kitchen island.
As the season slows down and the holidays approach, it's the perfect time to look at yours with fresh eyes. A great island does far more than add counter space. It's your prep station, your buffet, your homework table, and your conversation spot, all at once. Here are six ways we're designing islands for our clients right now, and the details that make each one work.
1. Go Long: The Entertaining Island
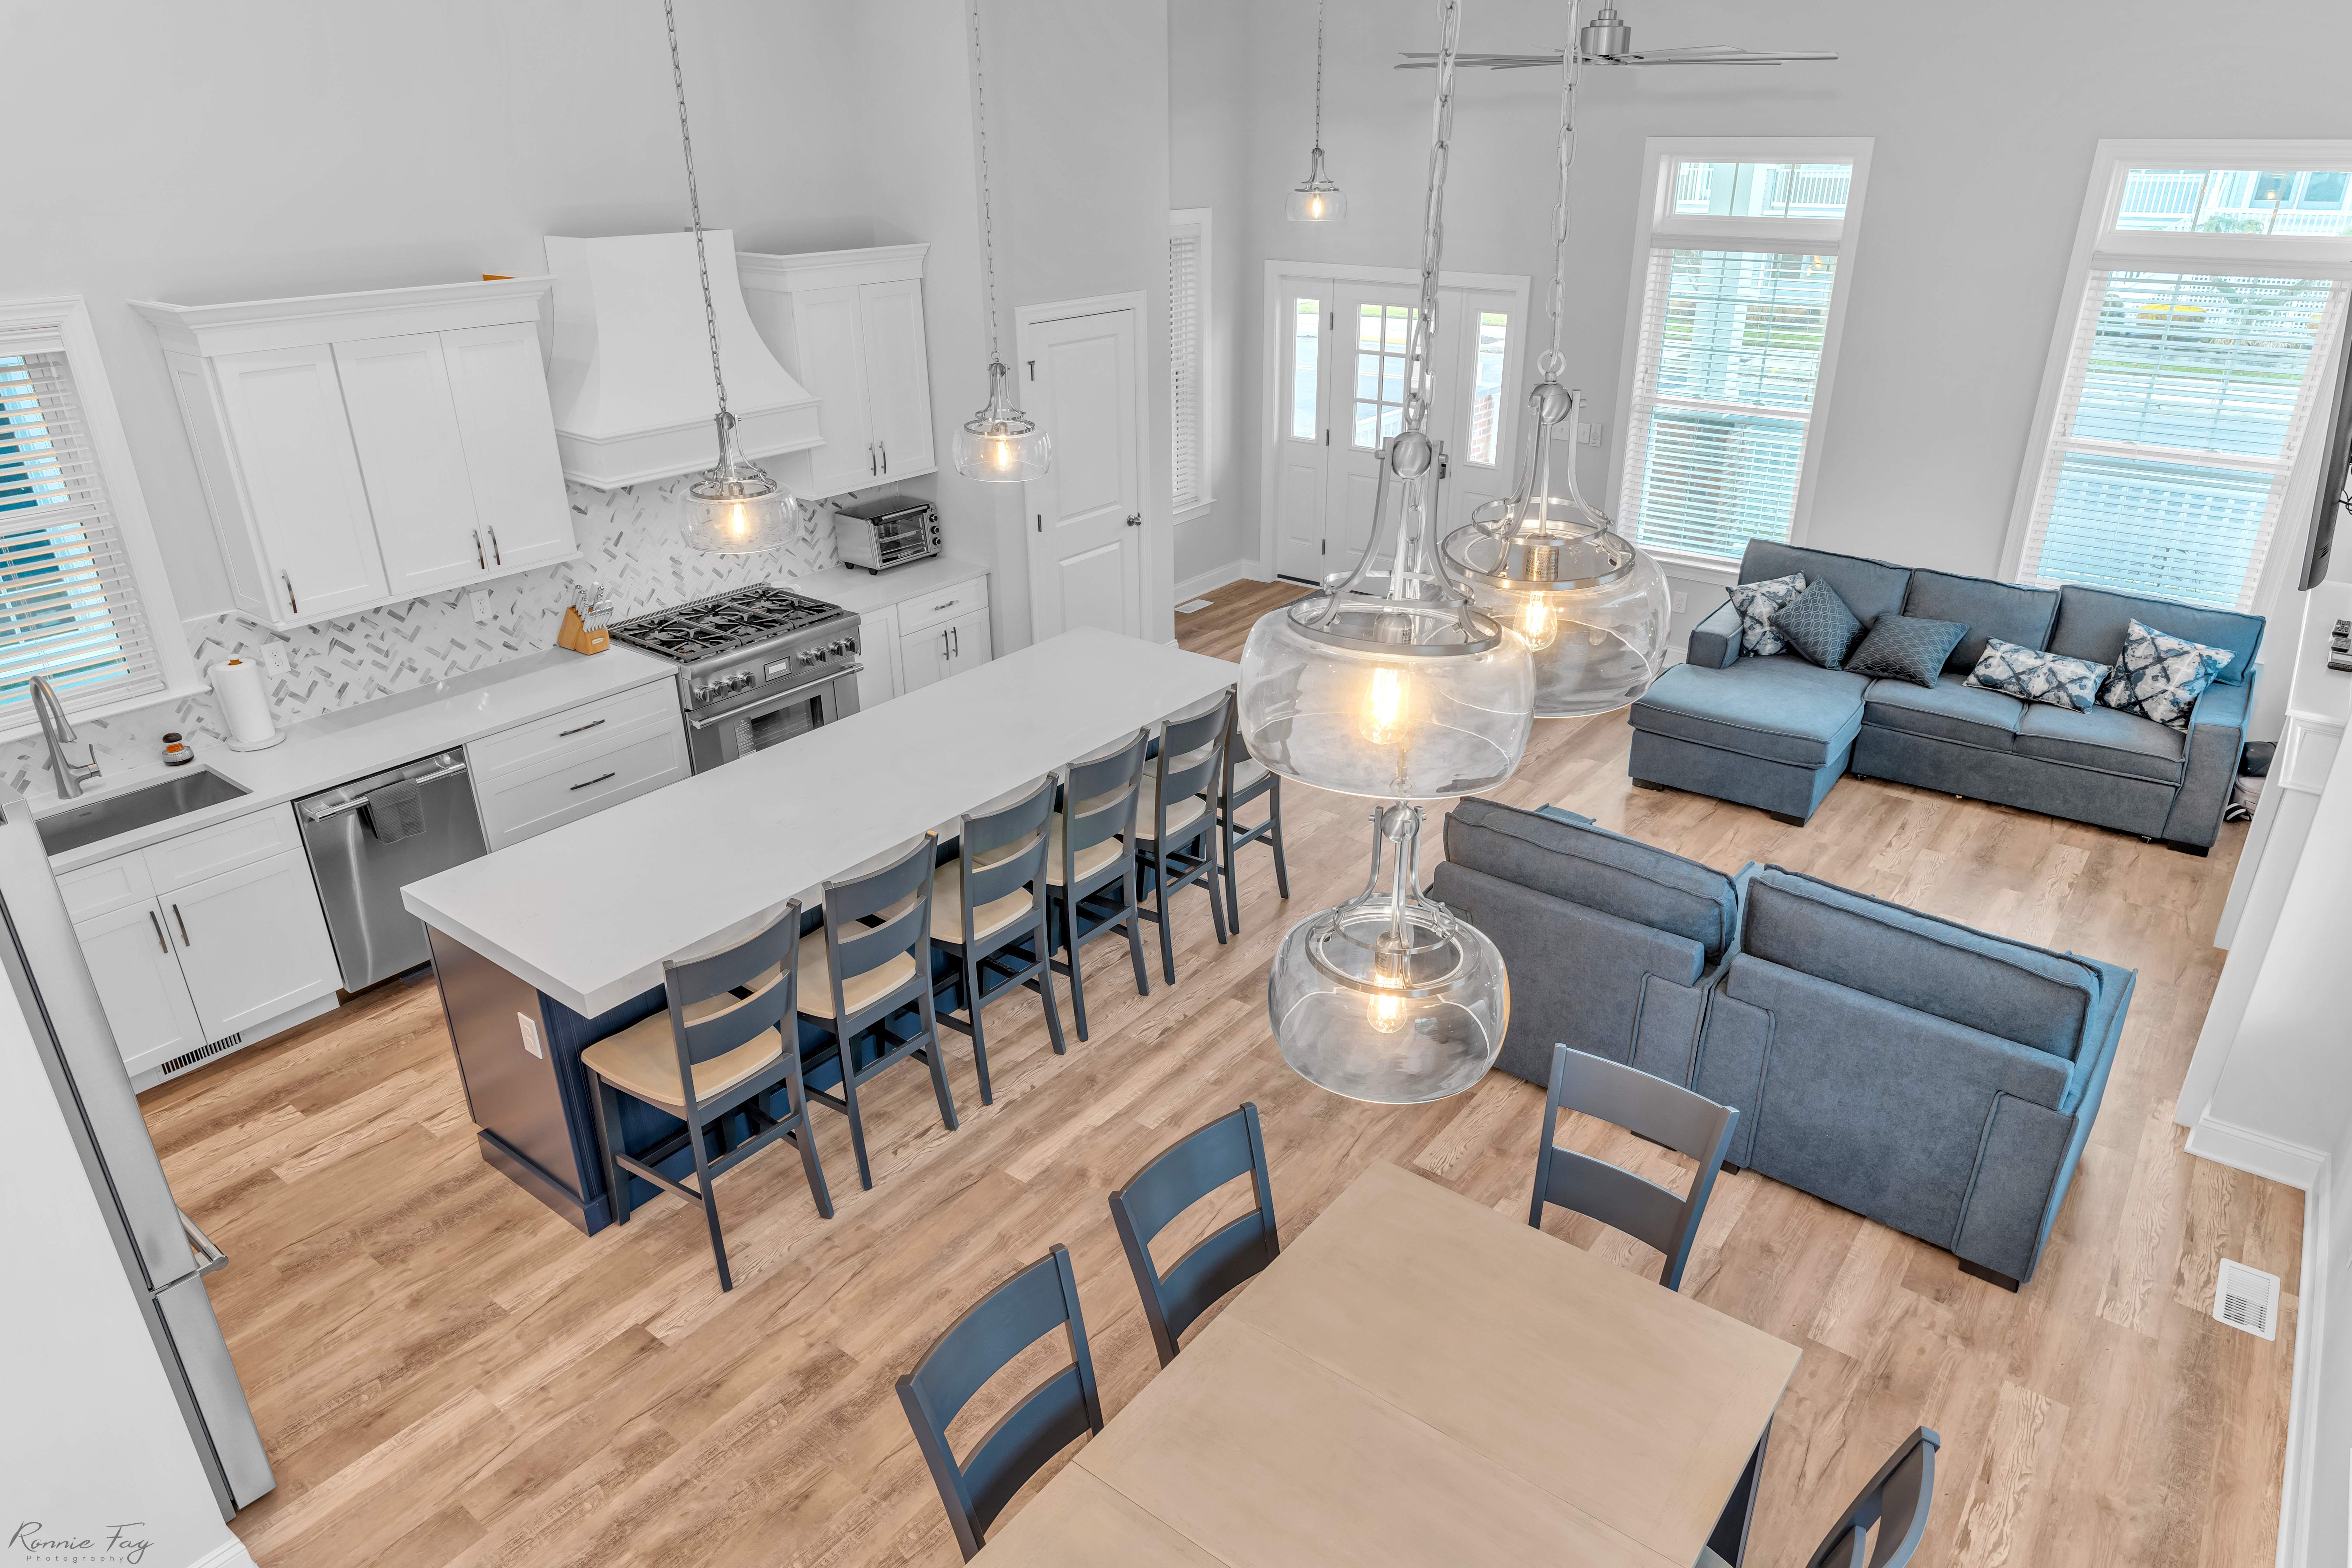
In open-concept shore homes, a long, linear island is the natural bridge between the kitchen and the living area. One recent project paired a generous island with seating for six, anchored by oversized glass pendants that tie the cooking zone visually to the lounge beyond.
A few guidelines we follow when sizing an island for a crowd:
-
Plan roughly 24 inches of counter width per seat.
-
Leave 12 to 15 inches of overhang so knees fit comfortably.
-
Keep 42 to 48 inches of clearance on the working sides so two people can cook without a collision.
Long islands also give you room to separate jobs: prep on one end, serving and seating on the other.
2. Add a Waterfall Edge
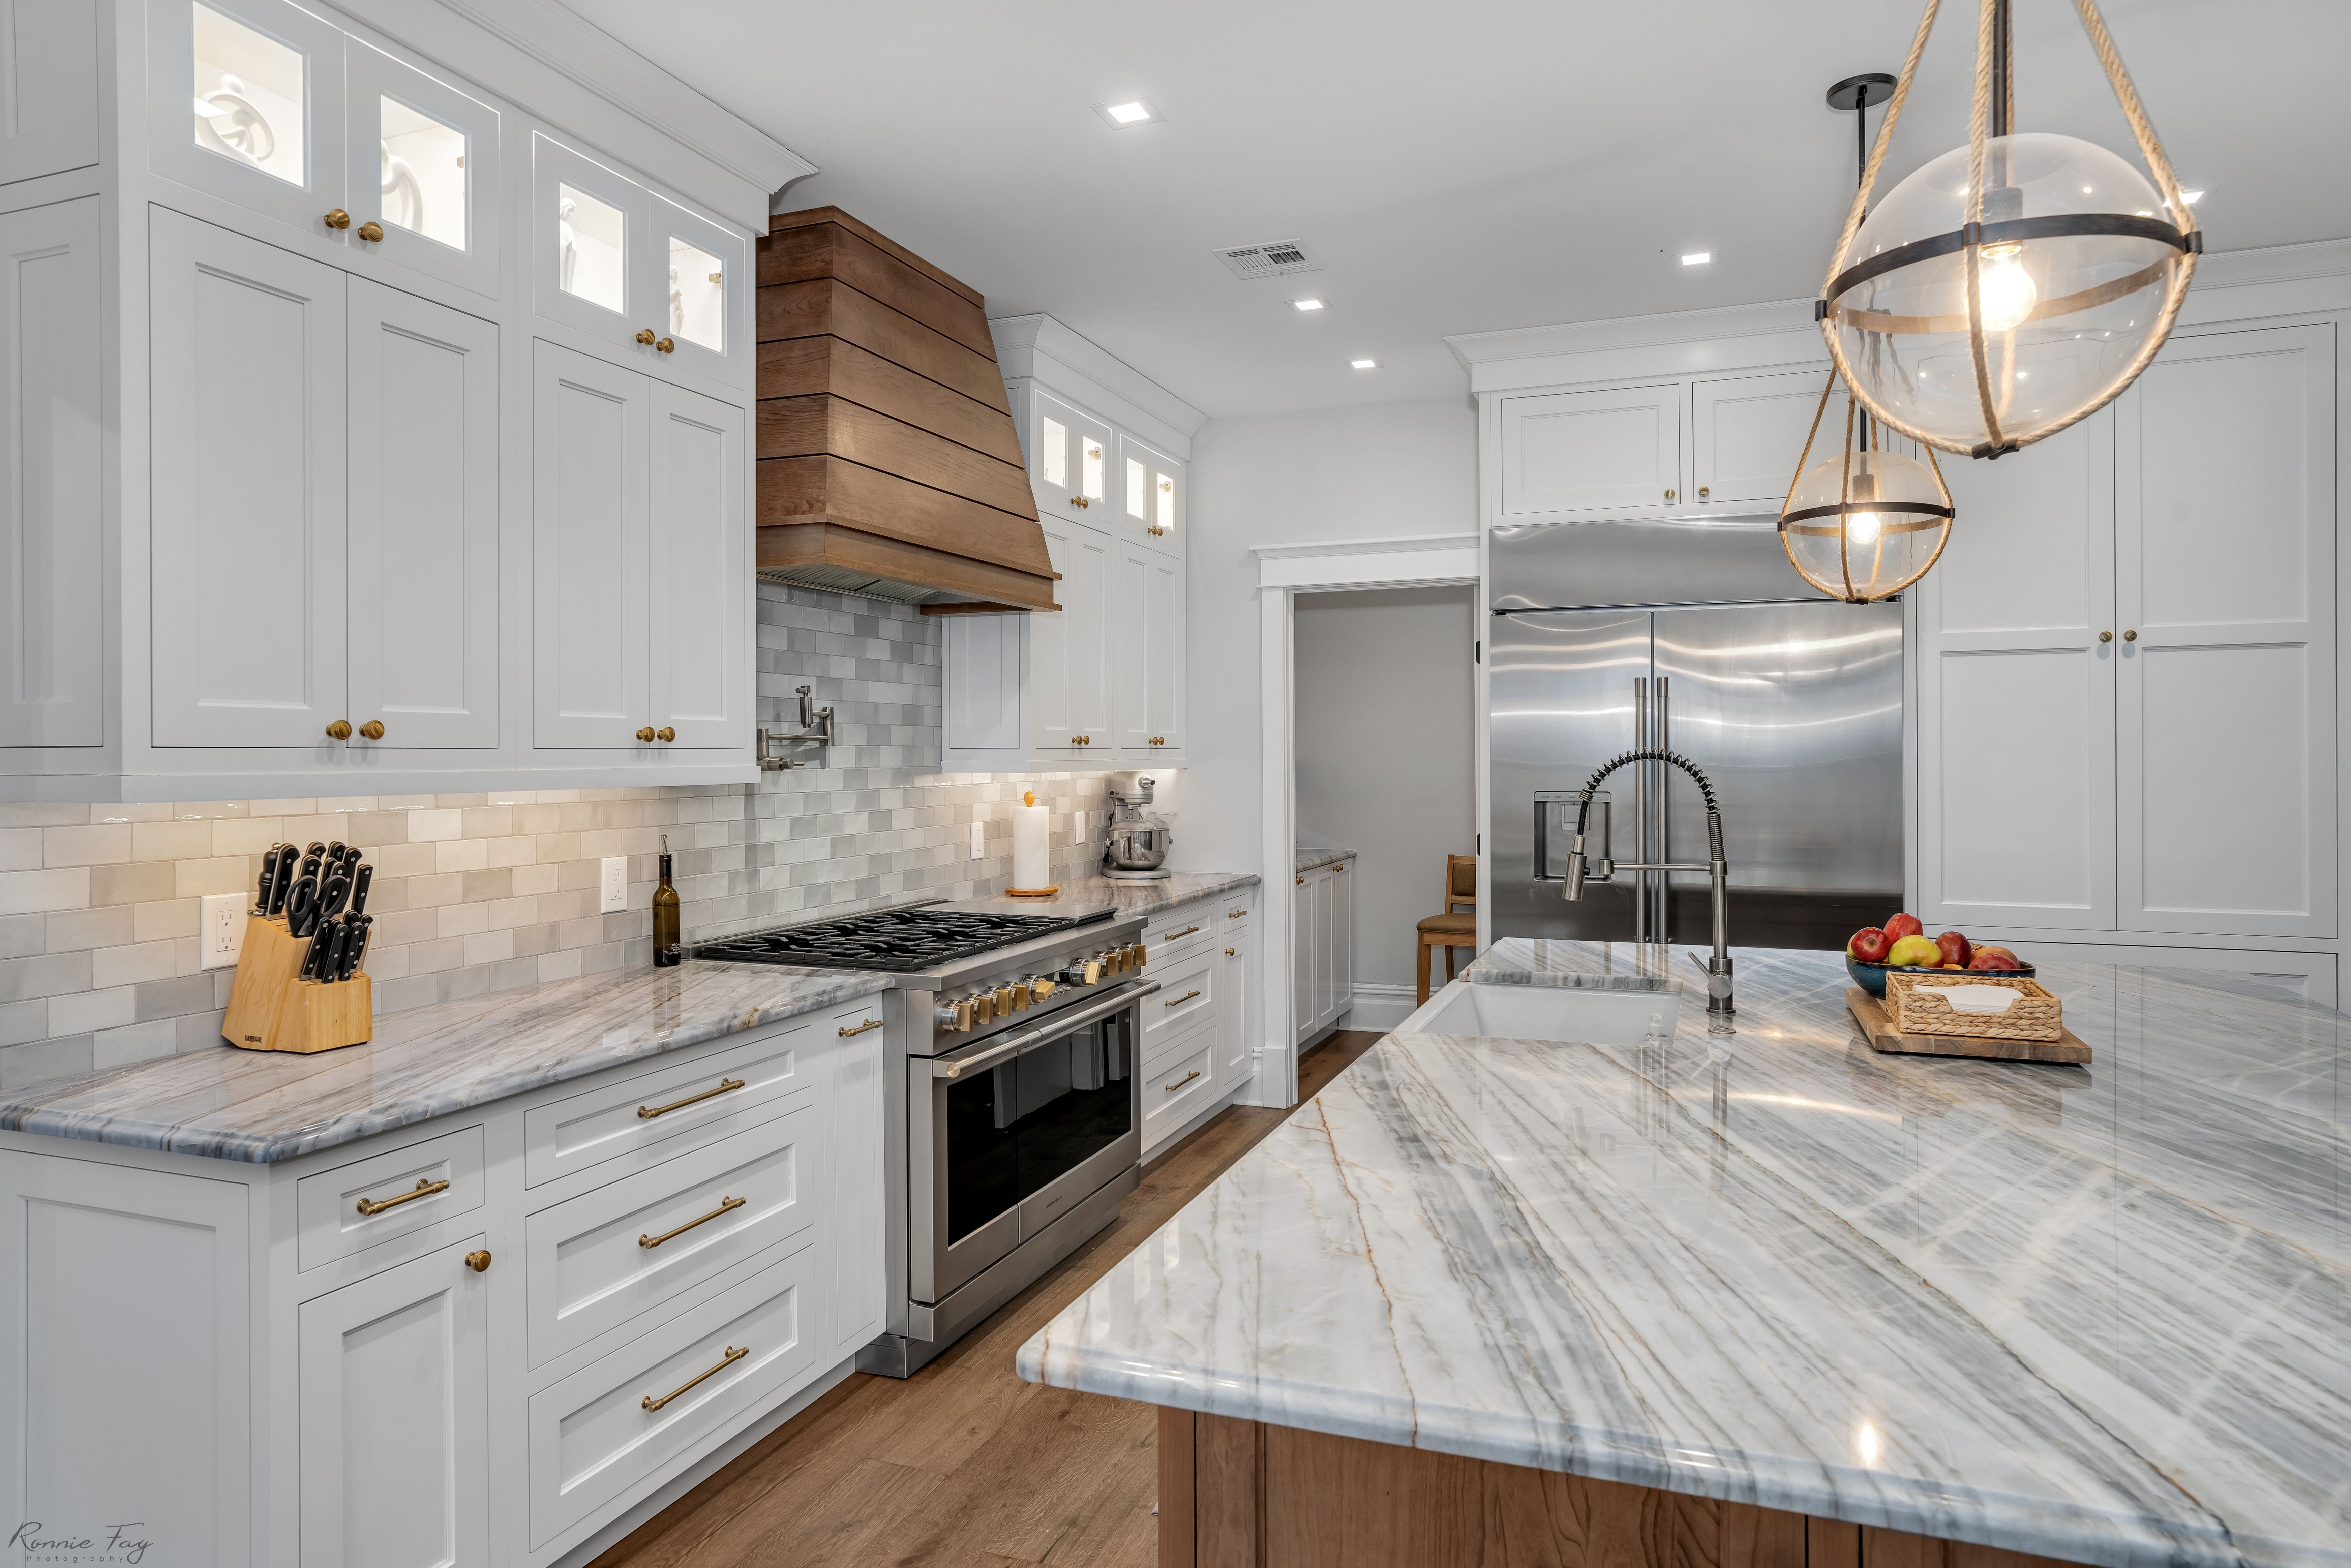
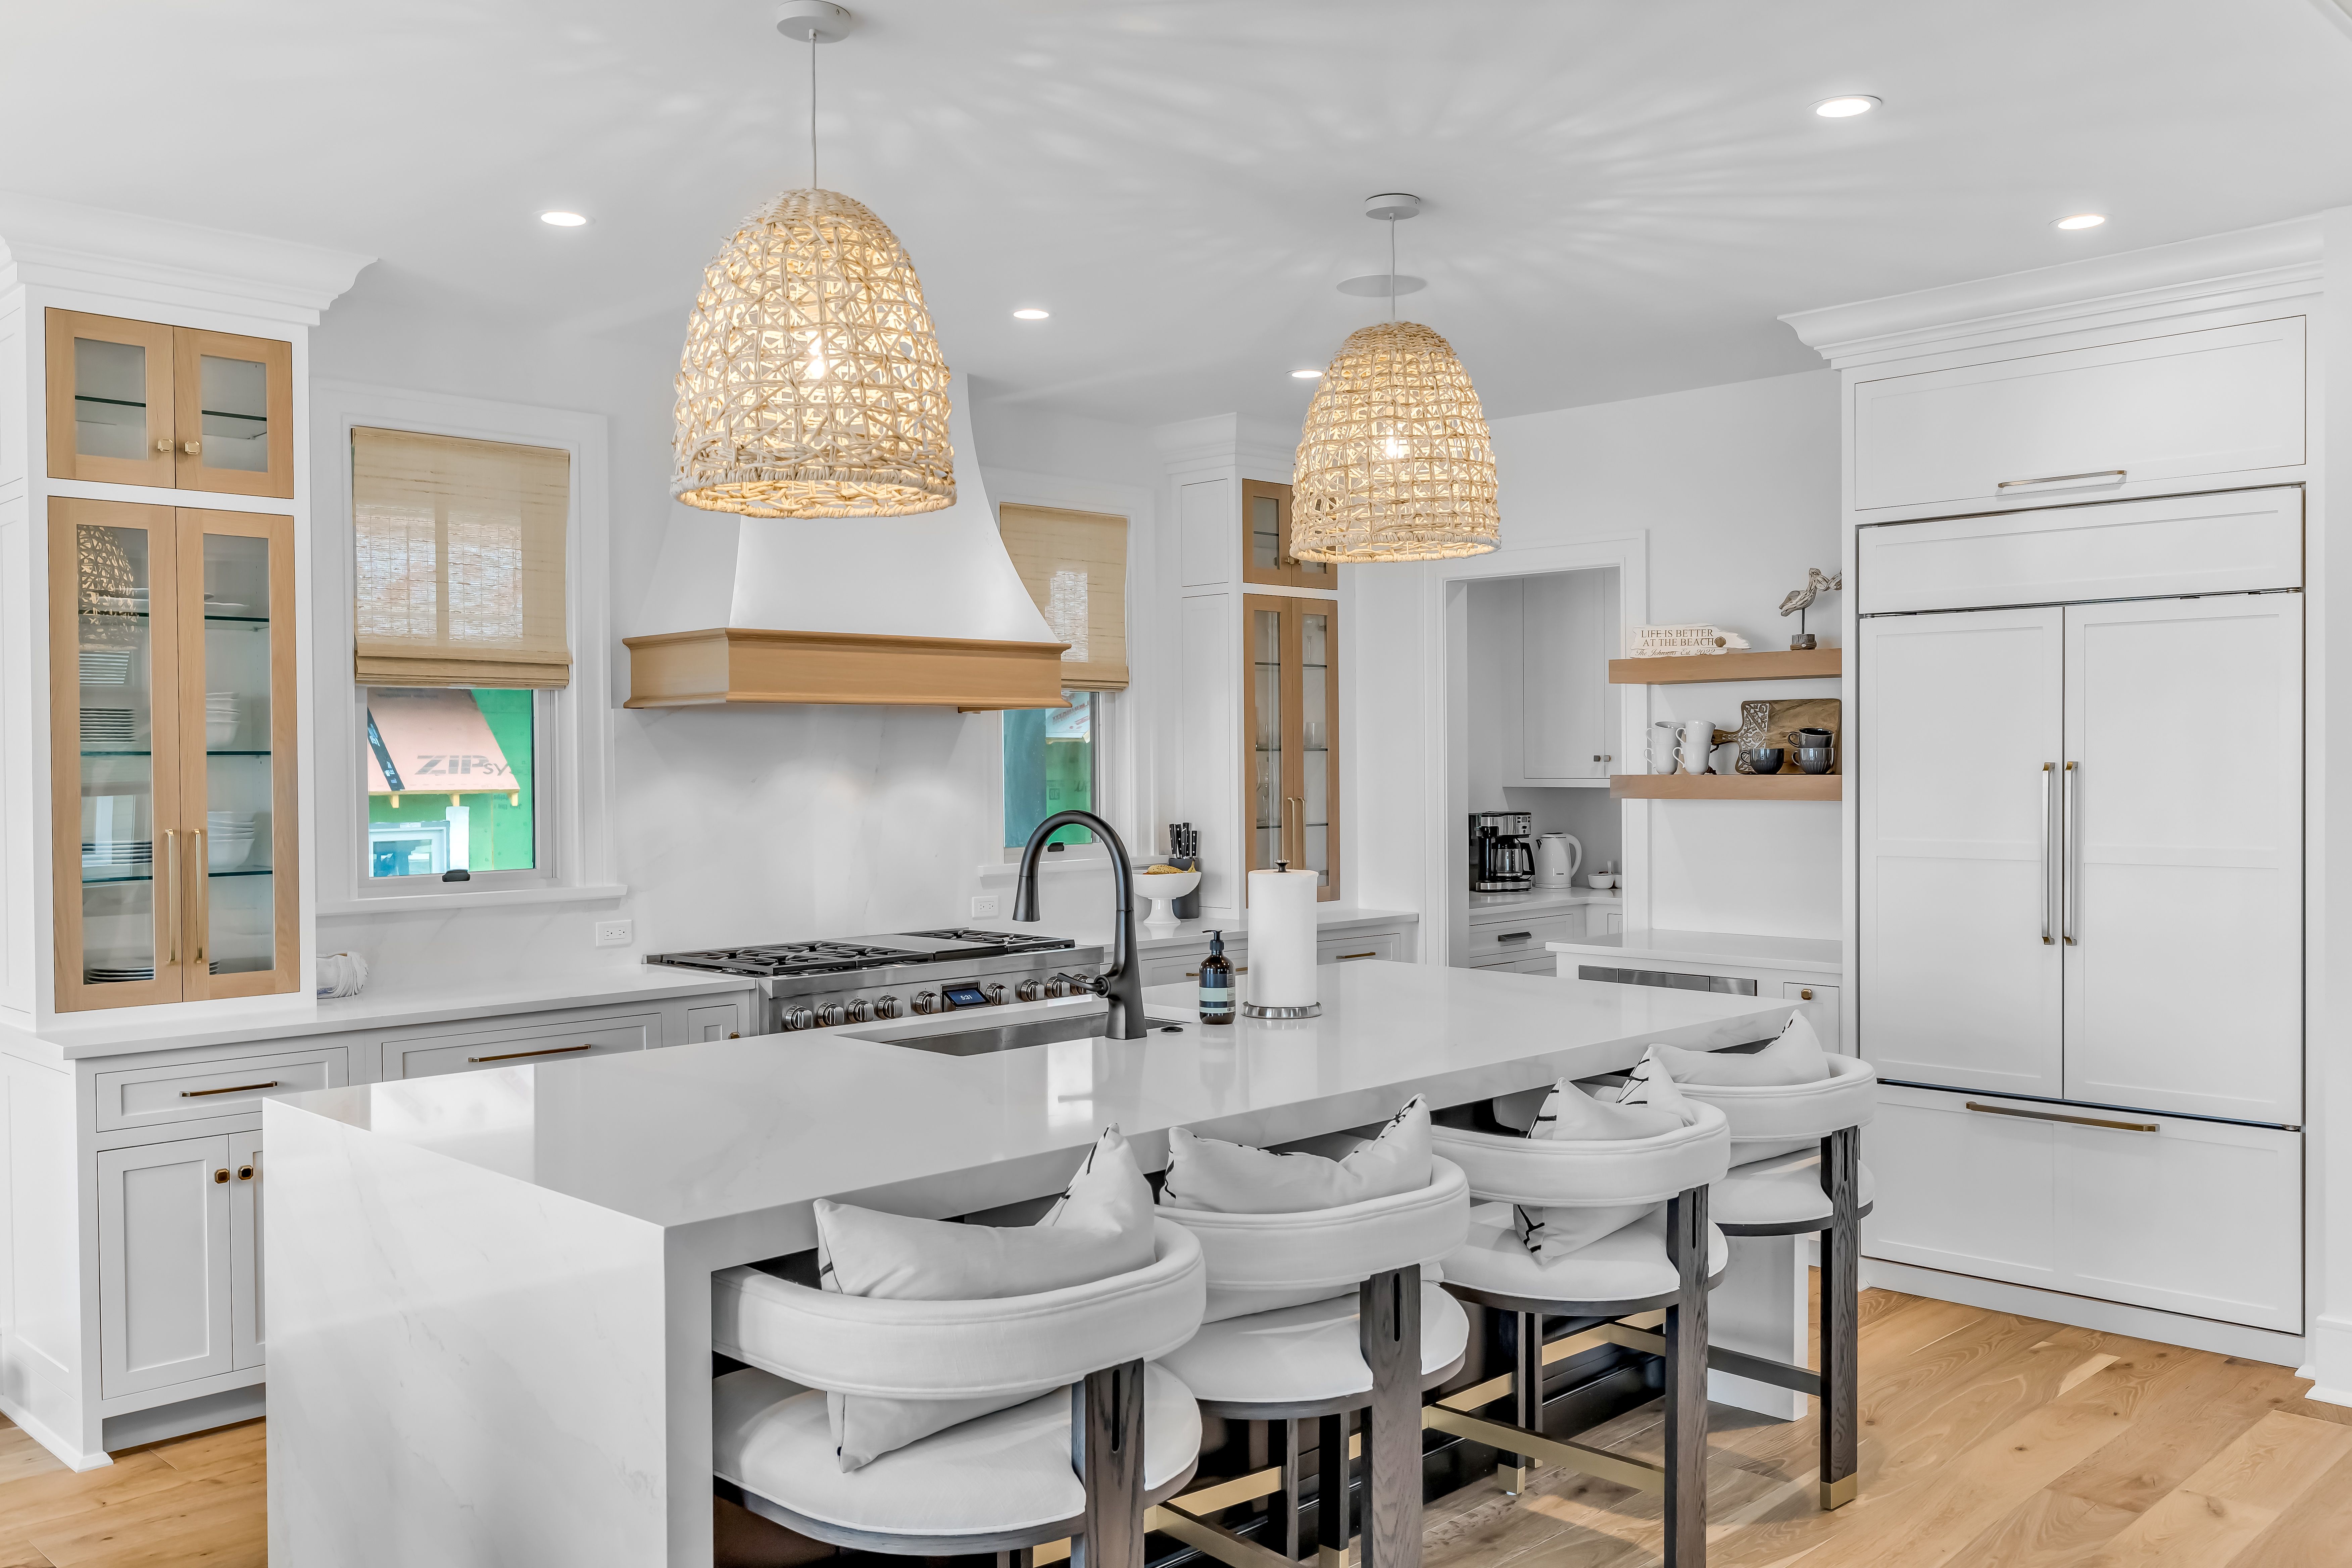
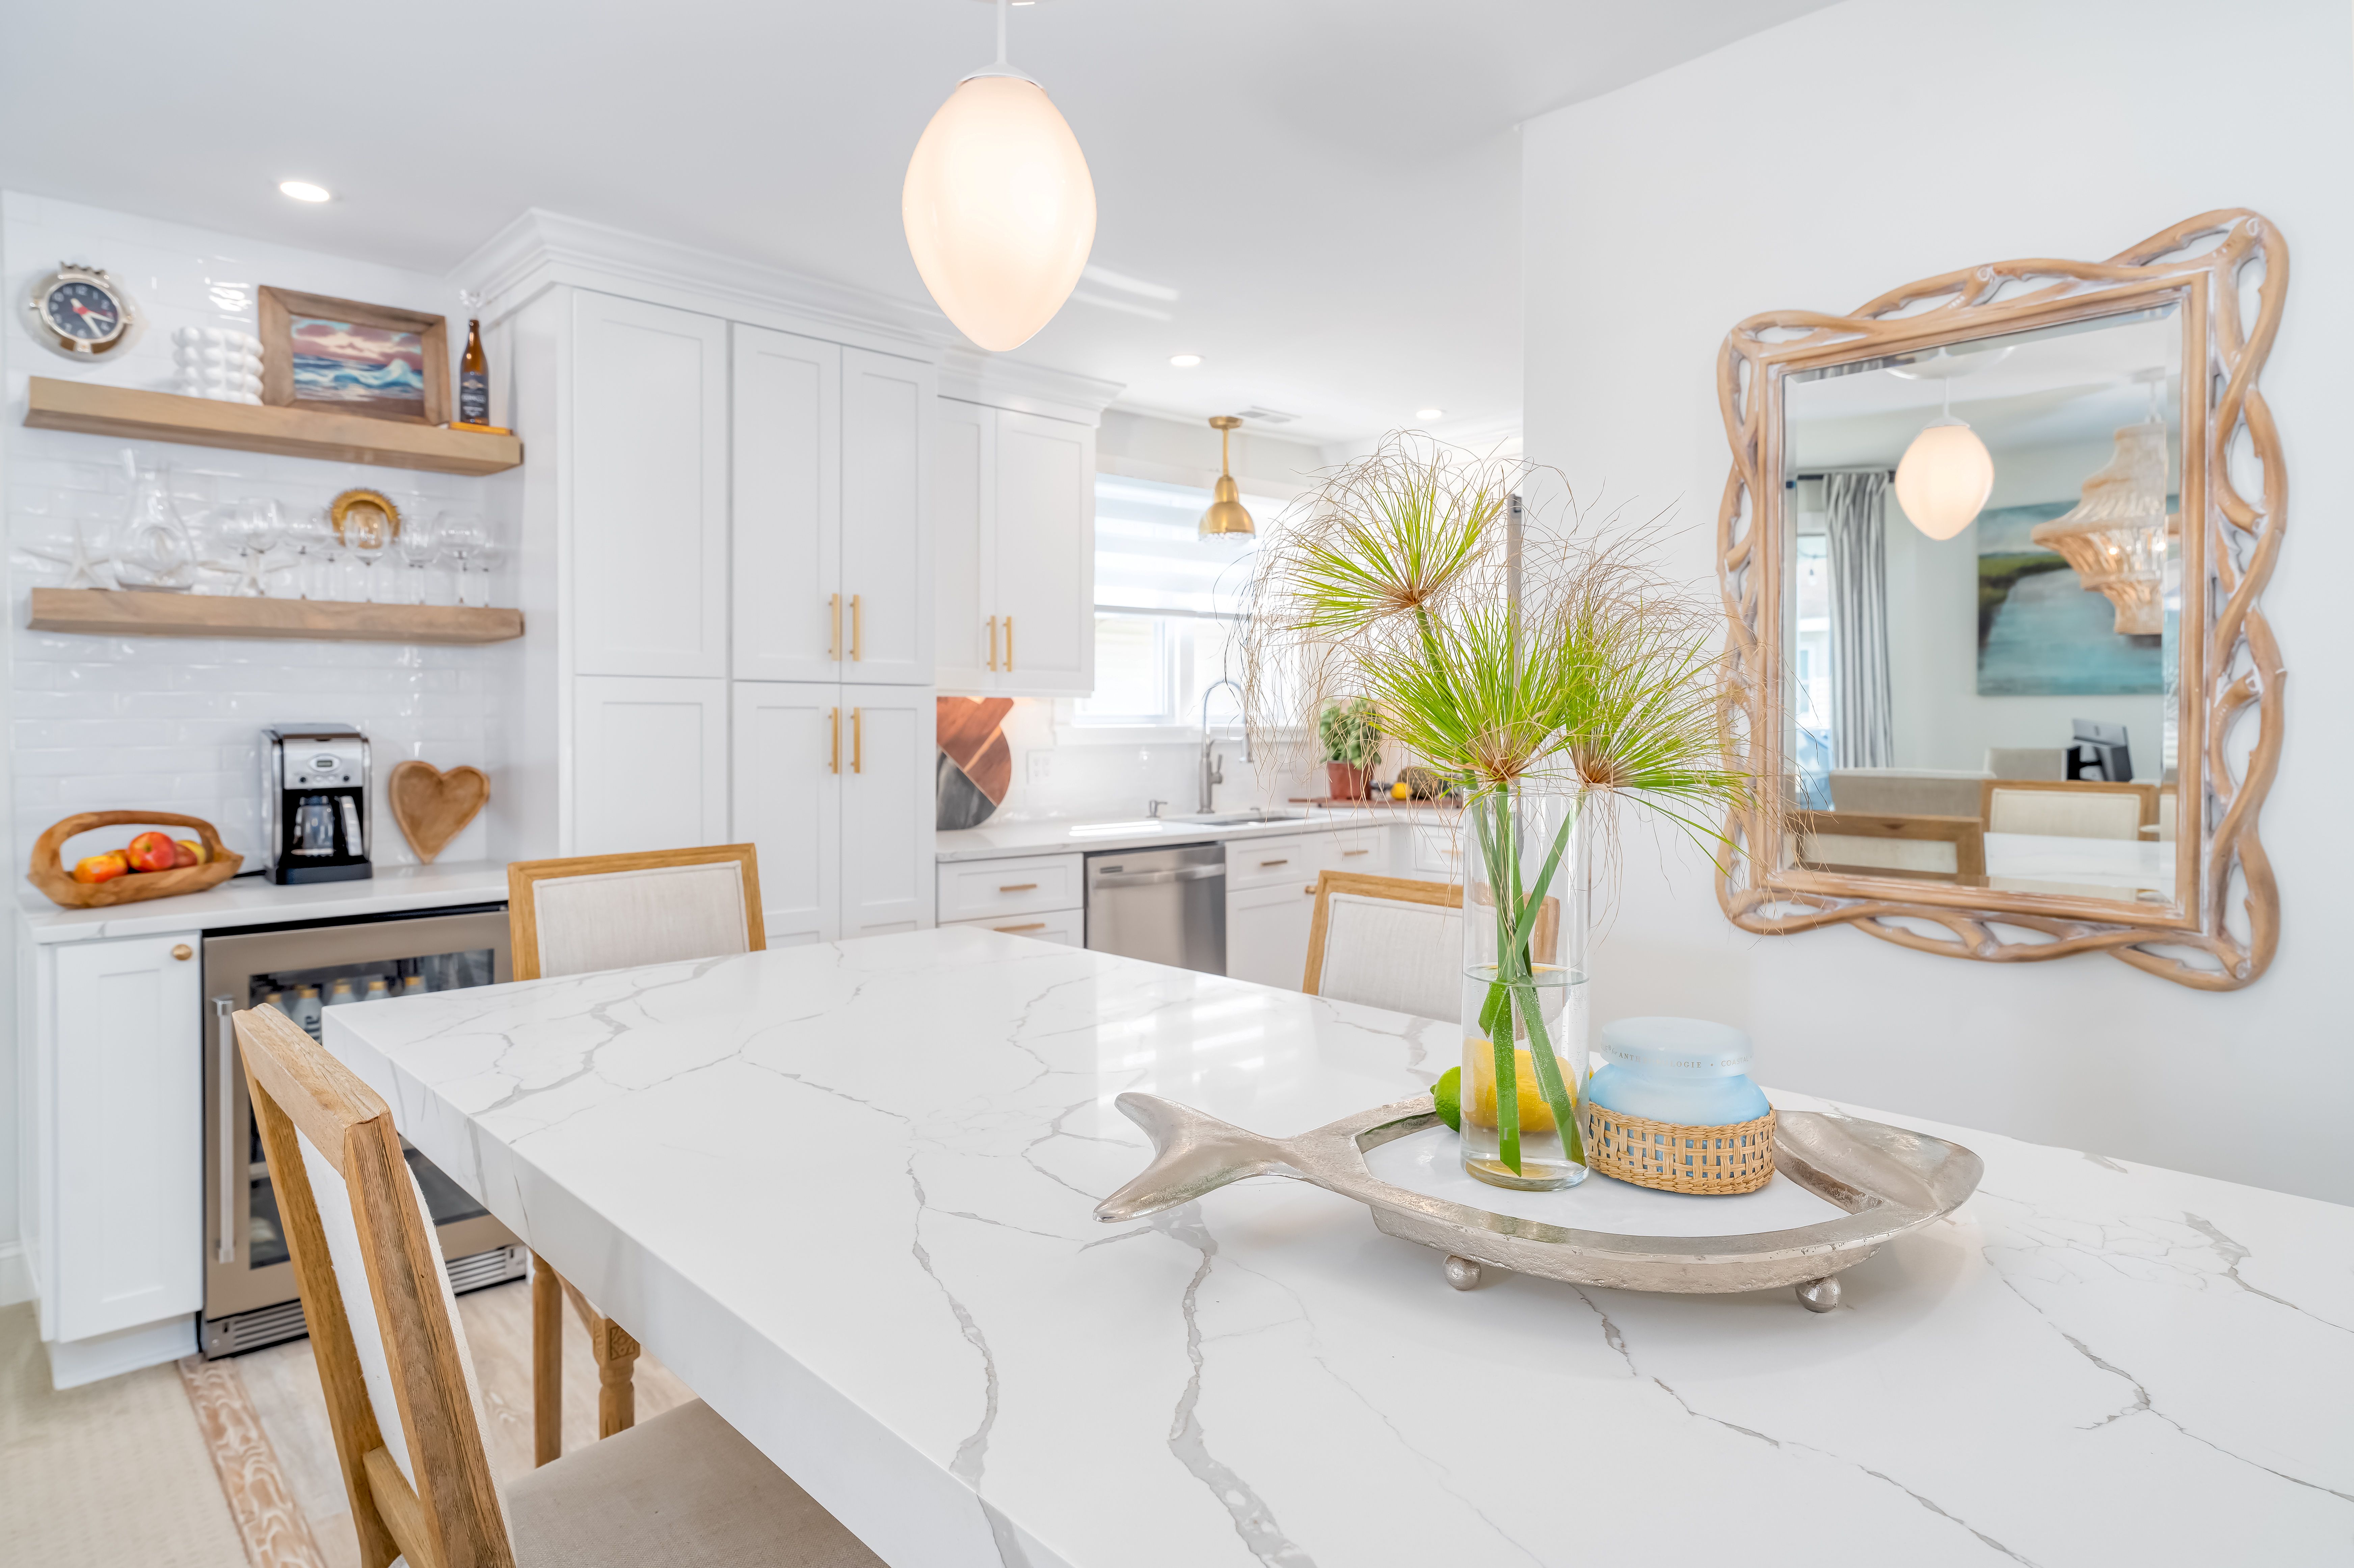
If you want an island that reads as sculpture rather than furniture, the waterfall edge is hard to beat. The countertop slab continues straight down the side of the island to the floor, creating a clean, uninterrupted line with no visible seam at the corner.
We've used this detail with soft, white-and-gray veined quartz in kitchens where the goal was a bright, airy, coastal feel, and it does double duty: the stone protects the end of the cabinet from the bumps and scuffs that a busy household delivers. Because the veining flows over the edge, the choice of slab matters. We love walking clients through full slabs so they can see exactly how the pattern will travel.
3. Let the Island Carry the Color
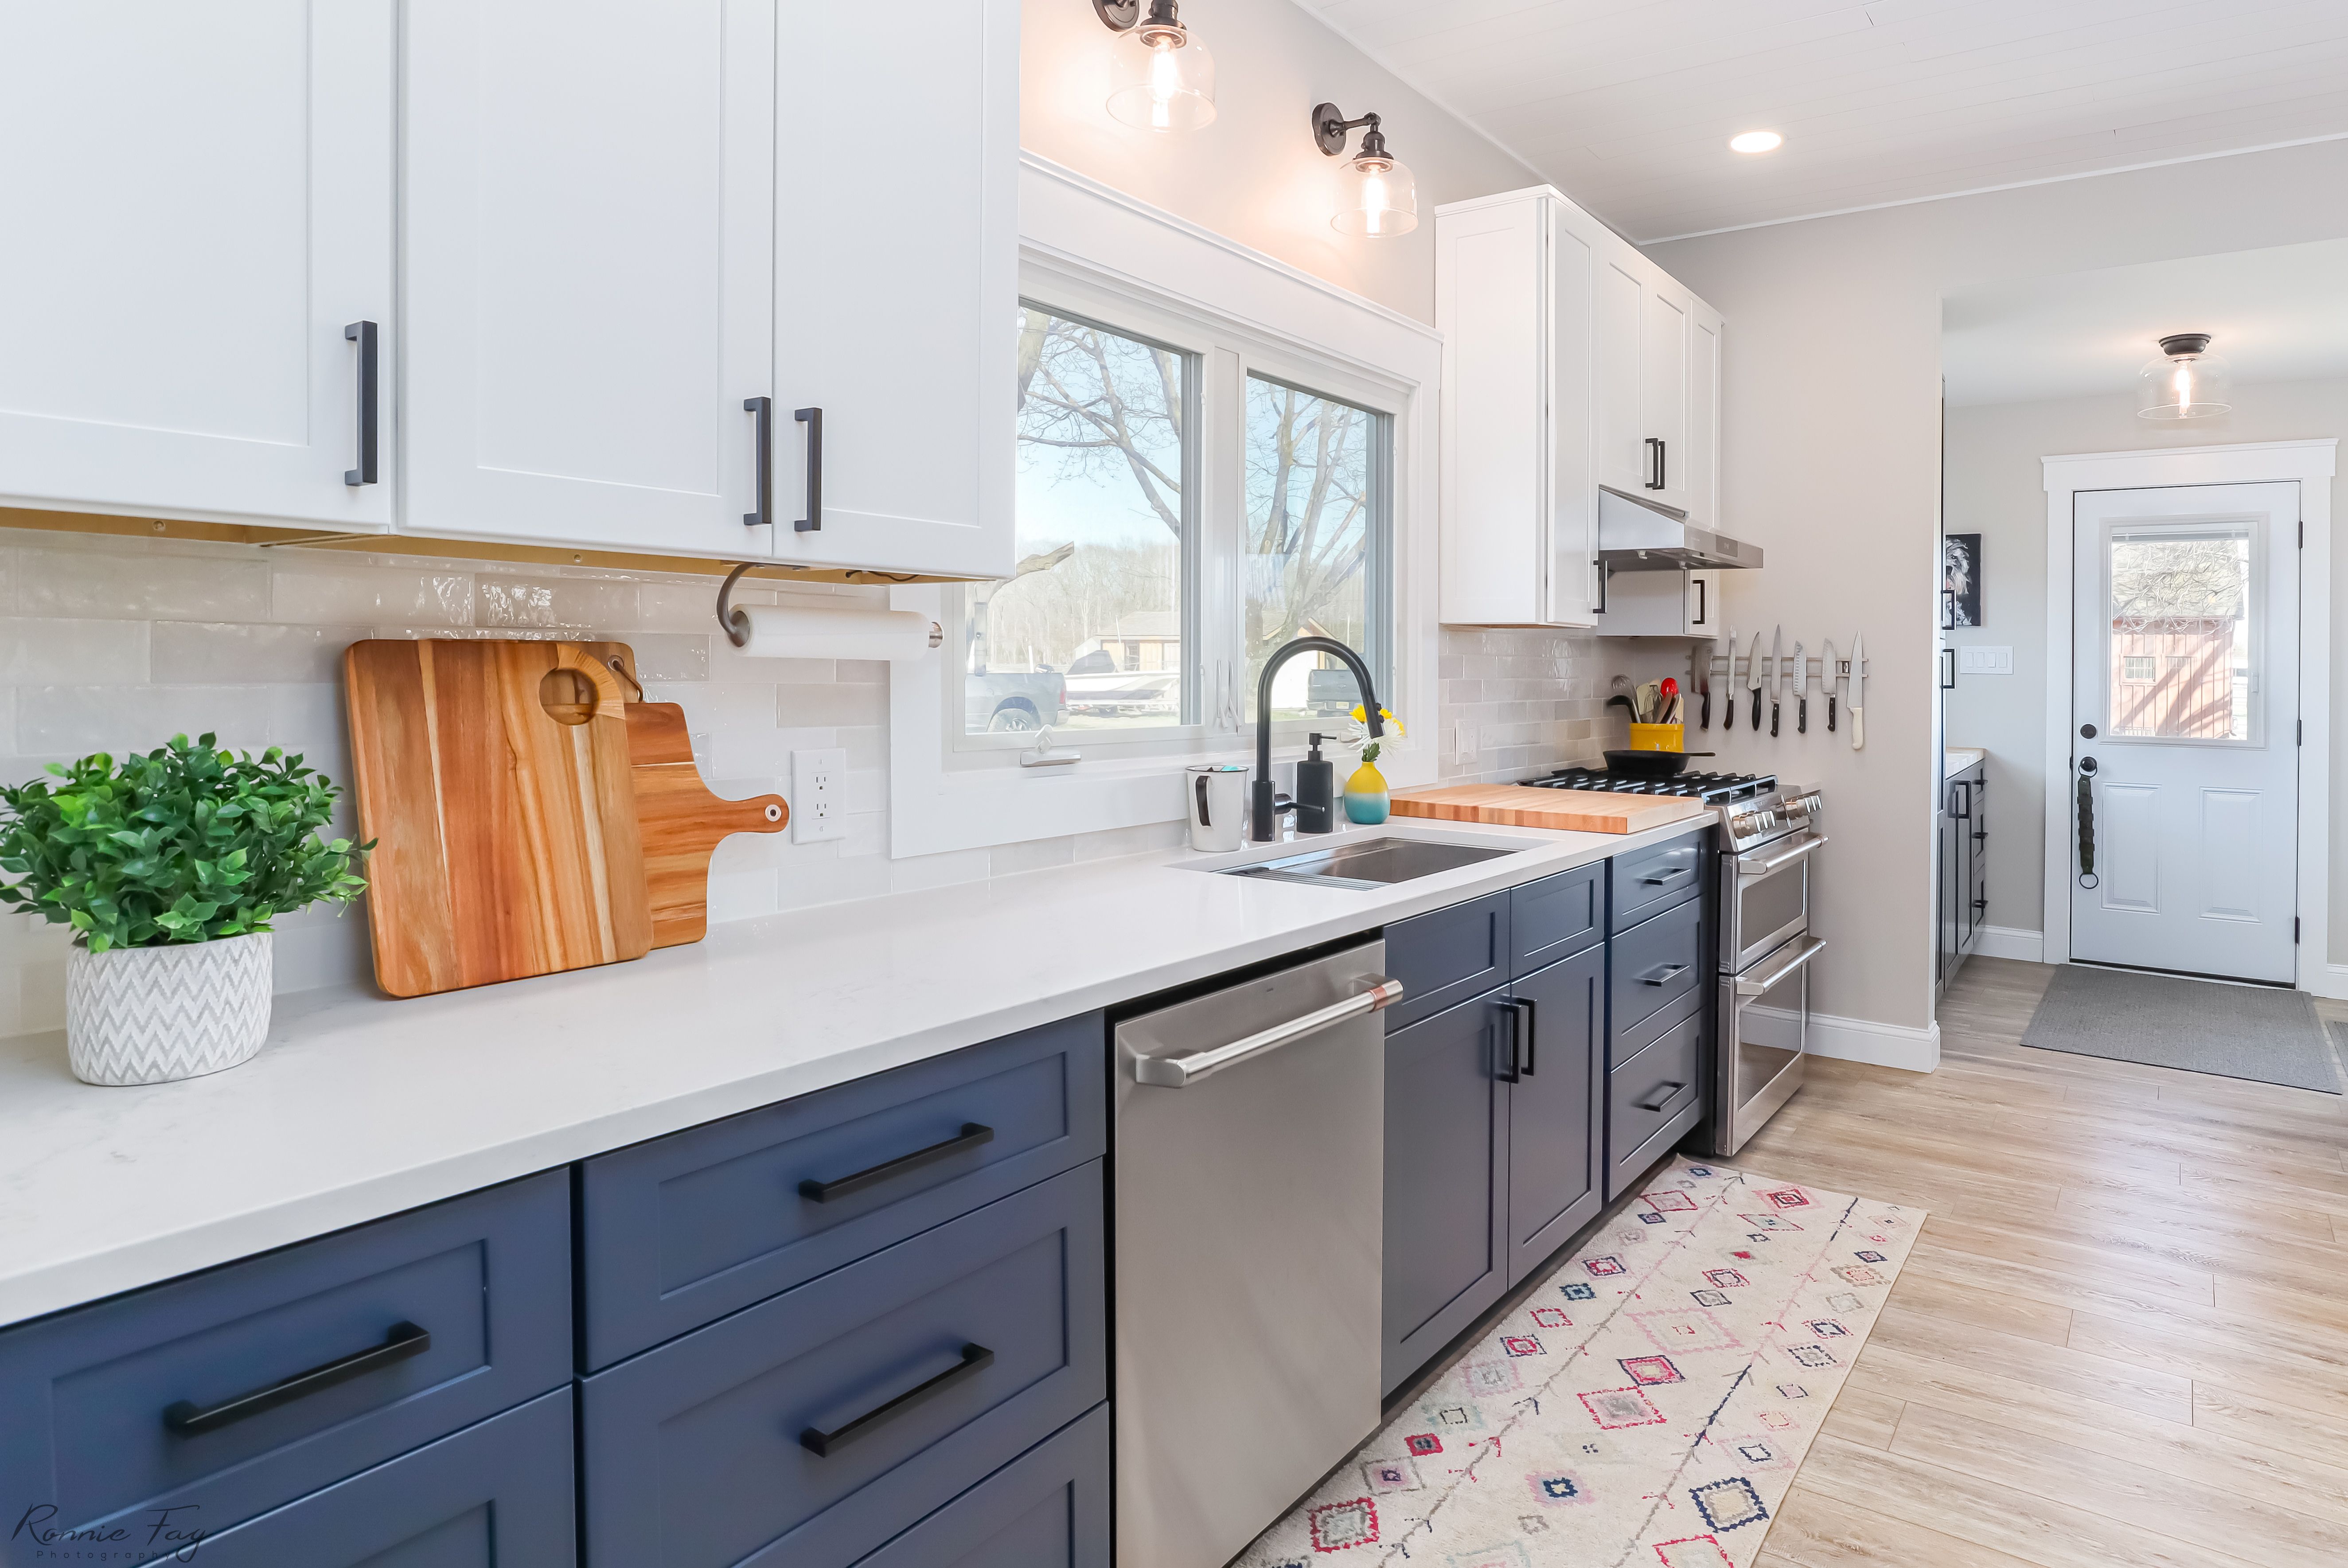
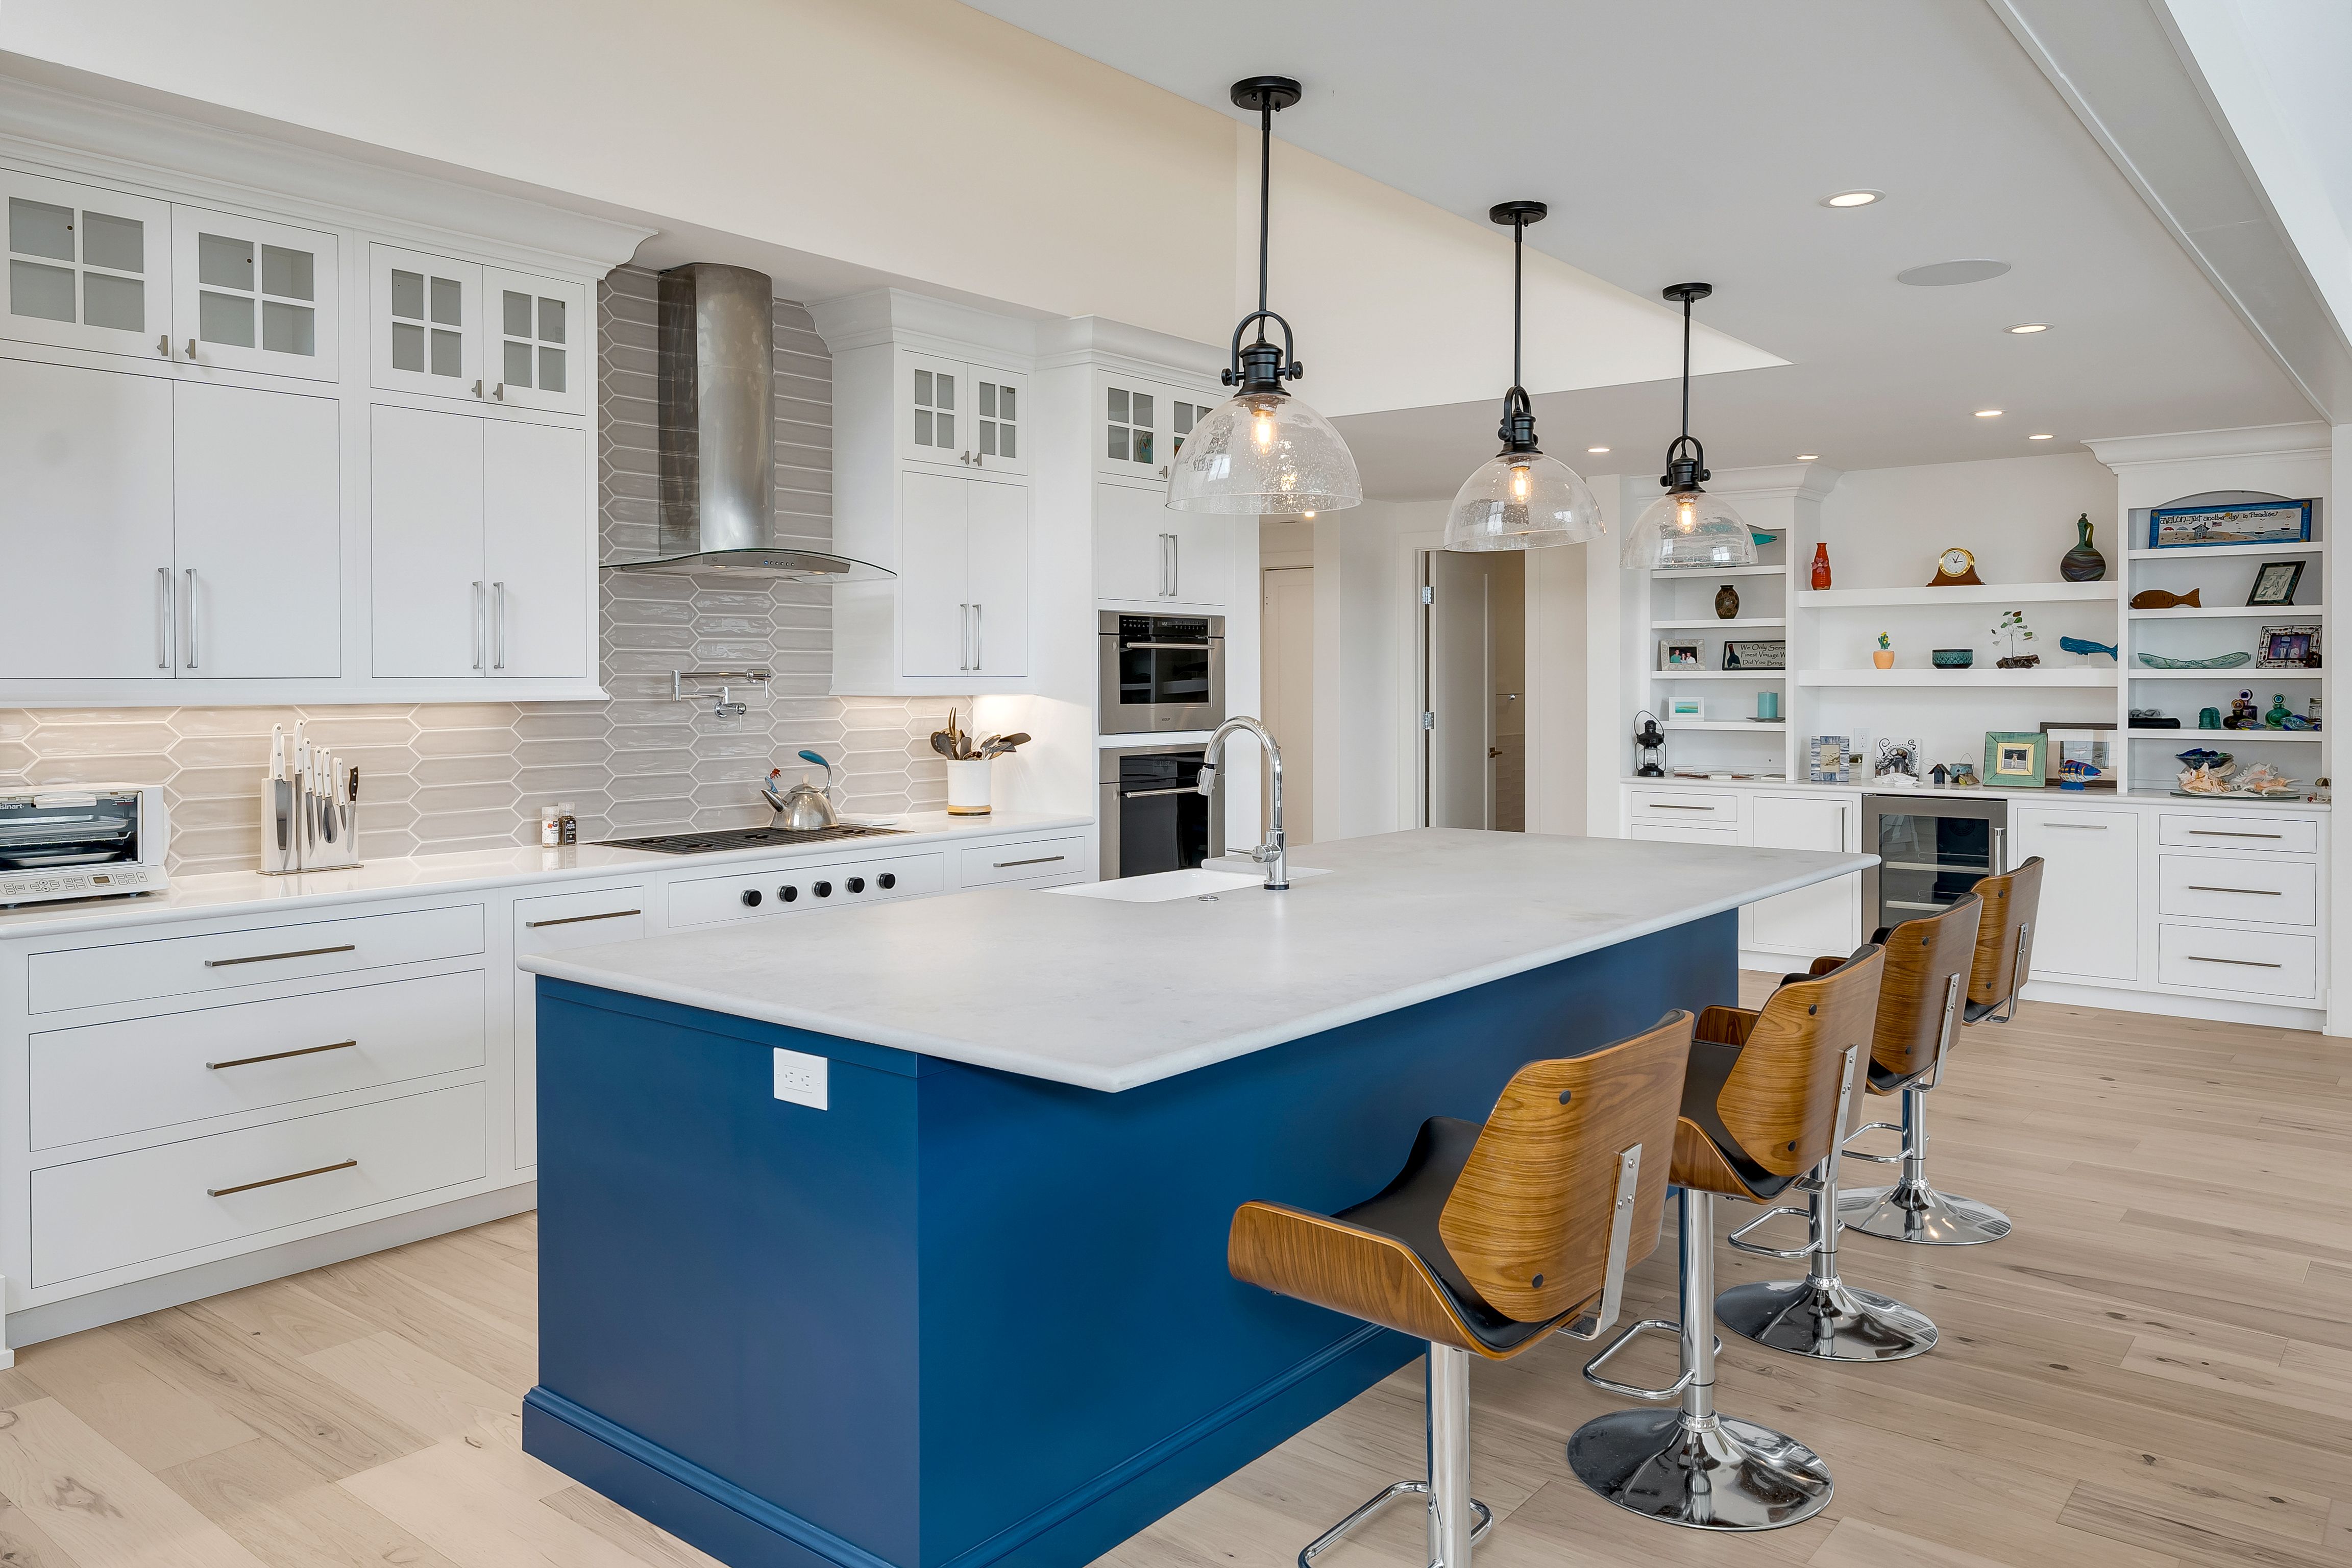
Here's one of our favorite design moves for clients who love color but want to keep the rest of the kitchen timeless: paint the island and keep the perimeter white.
A deep navy island against bright white cabinetry is a classic for a reason. It grounds the room, nods to the water outside, and photographs beautifully. We've also seen it work in a softer register, with a lighter blue carried across an entire kitchen for a playful, beach-cottage mood. Either way, the island becomes the focal point, and if your tastes change in ten years, repainting one piece is far easier than redoing a whole kitchen.
4. Bring in Warm Wood
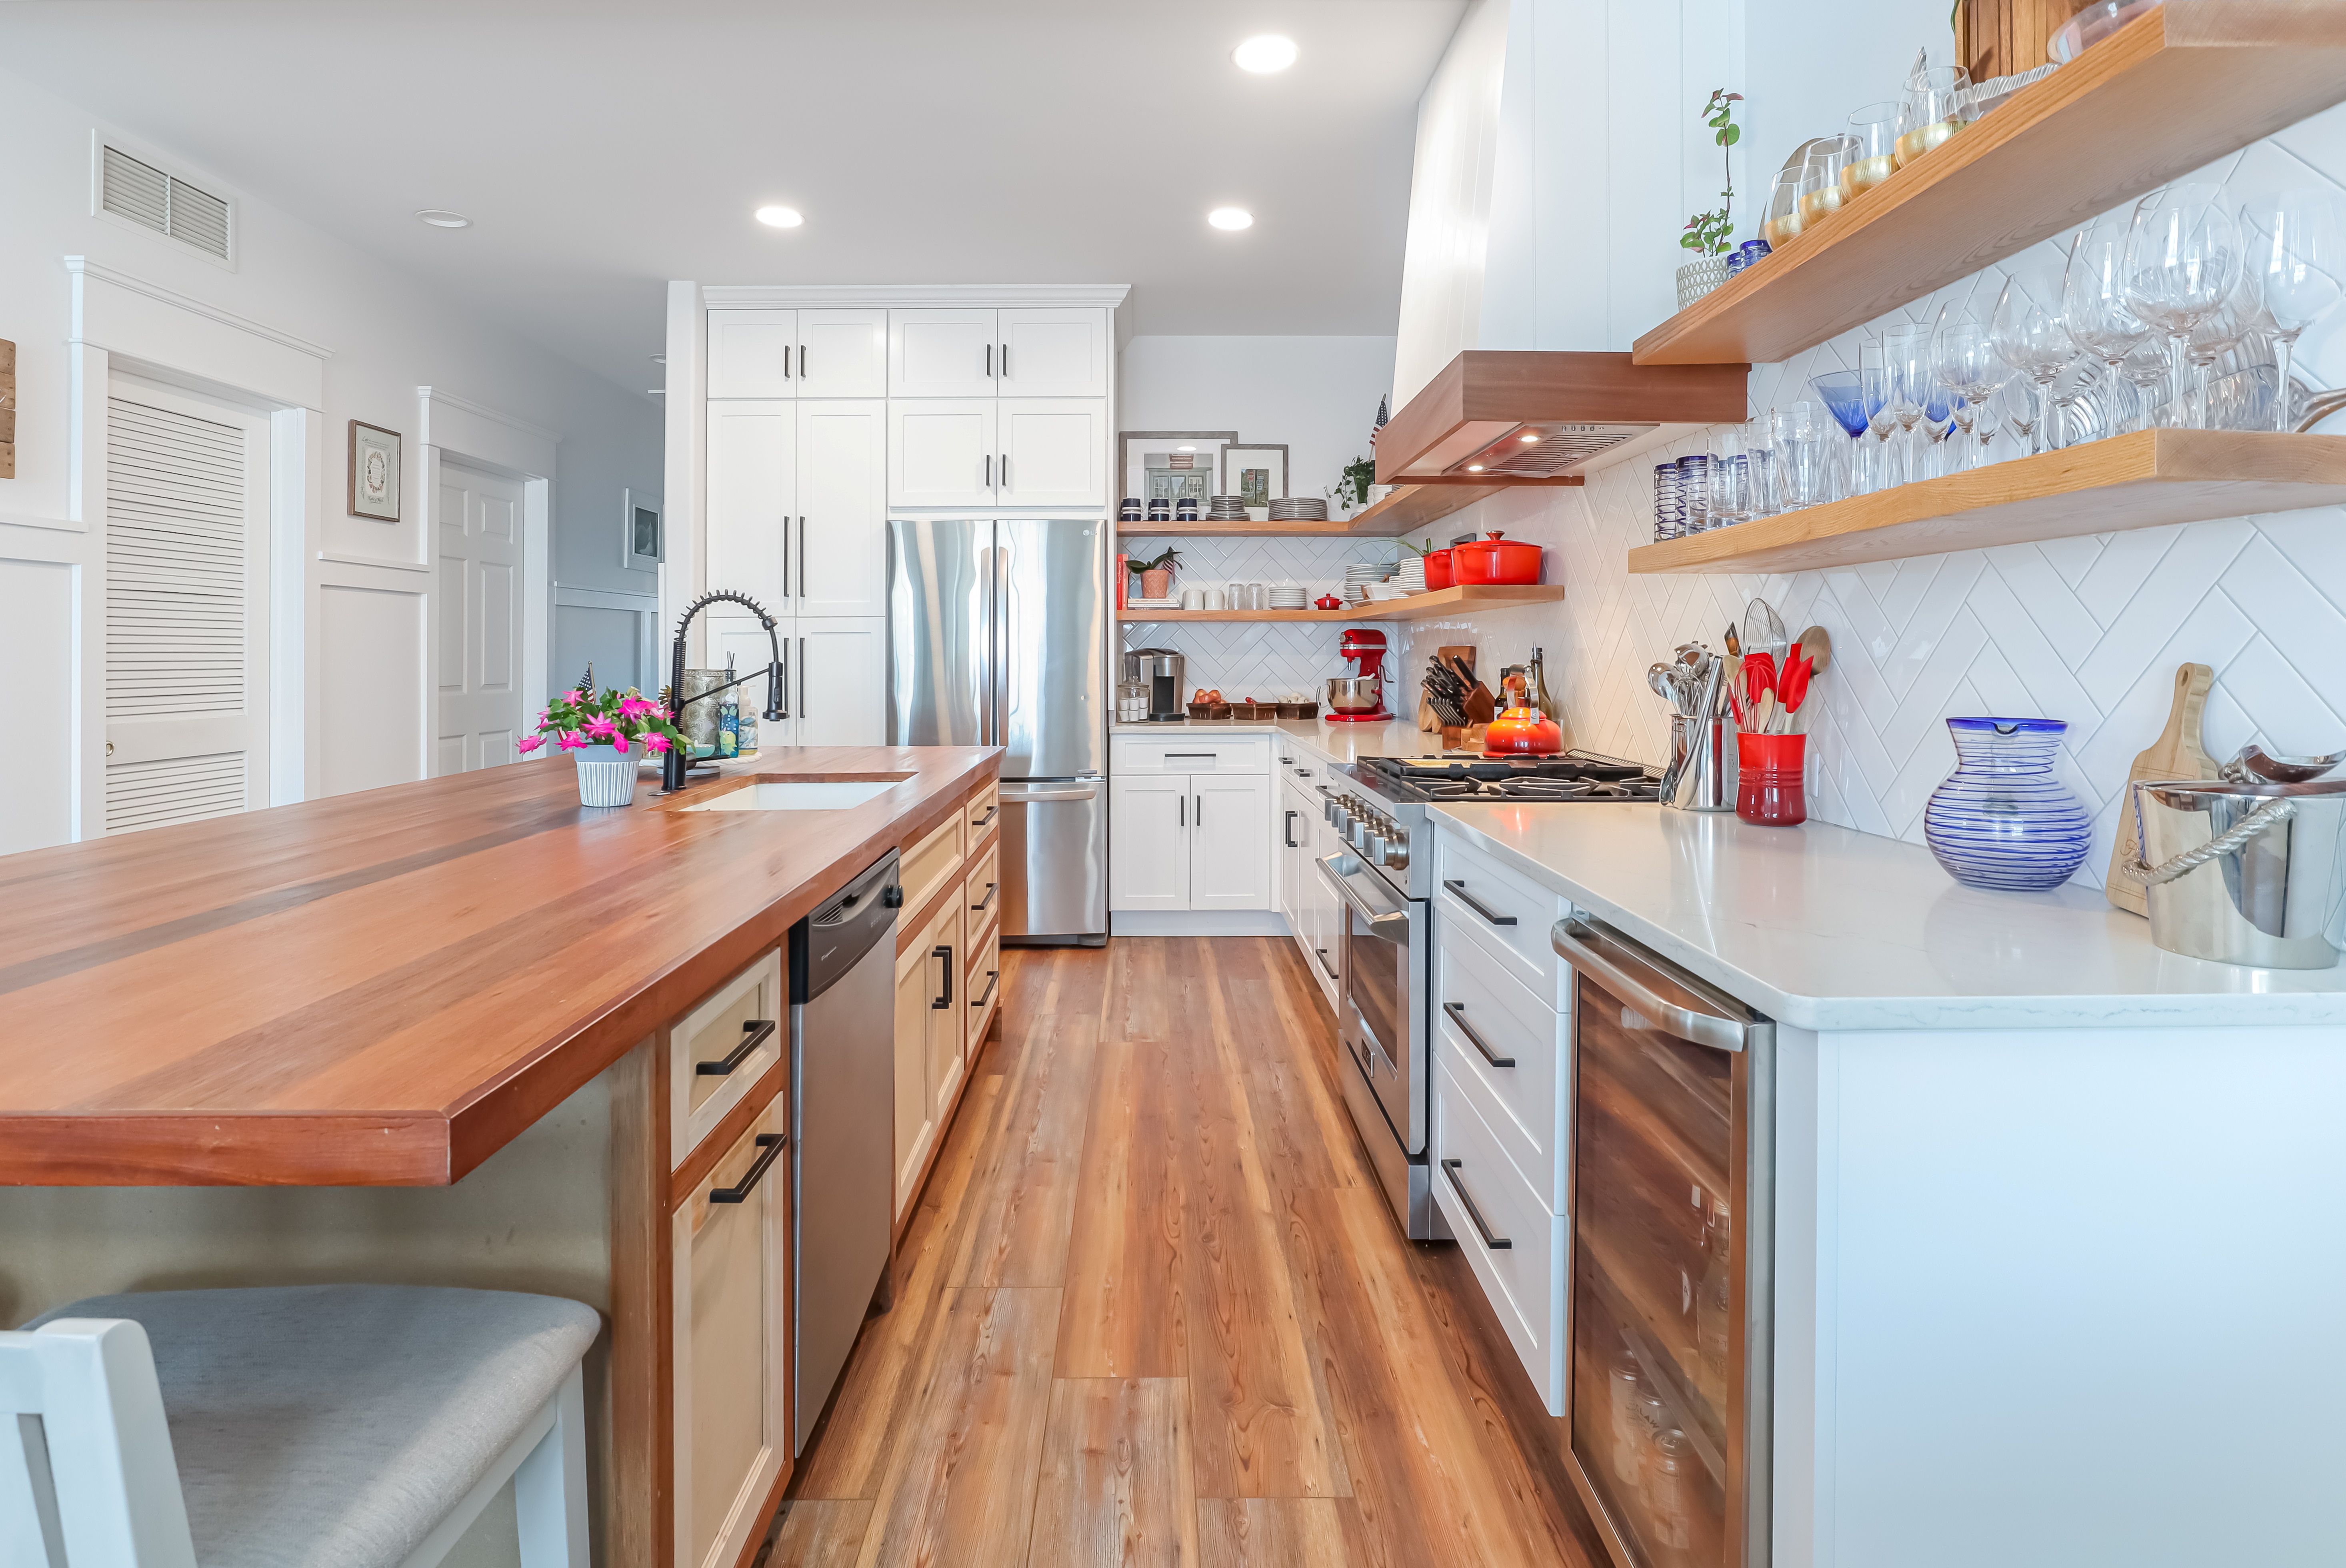
Wood on the island is having a moment, and it shows up in more ways than you might expect:
-
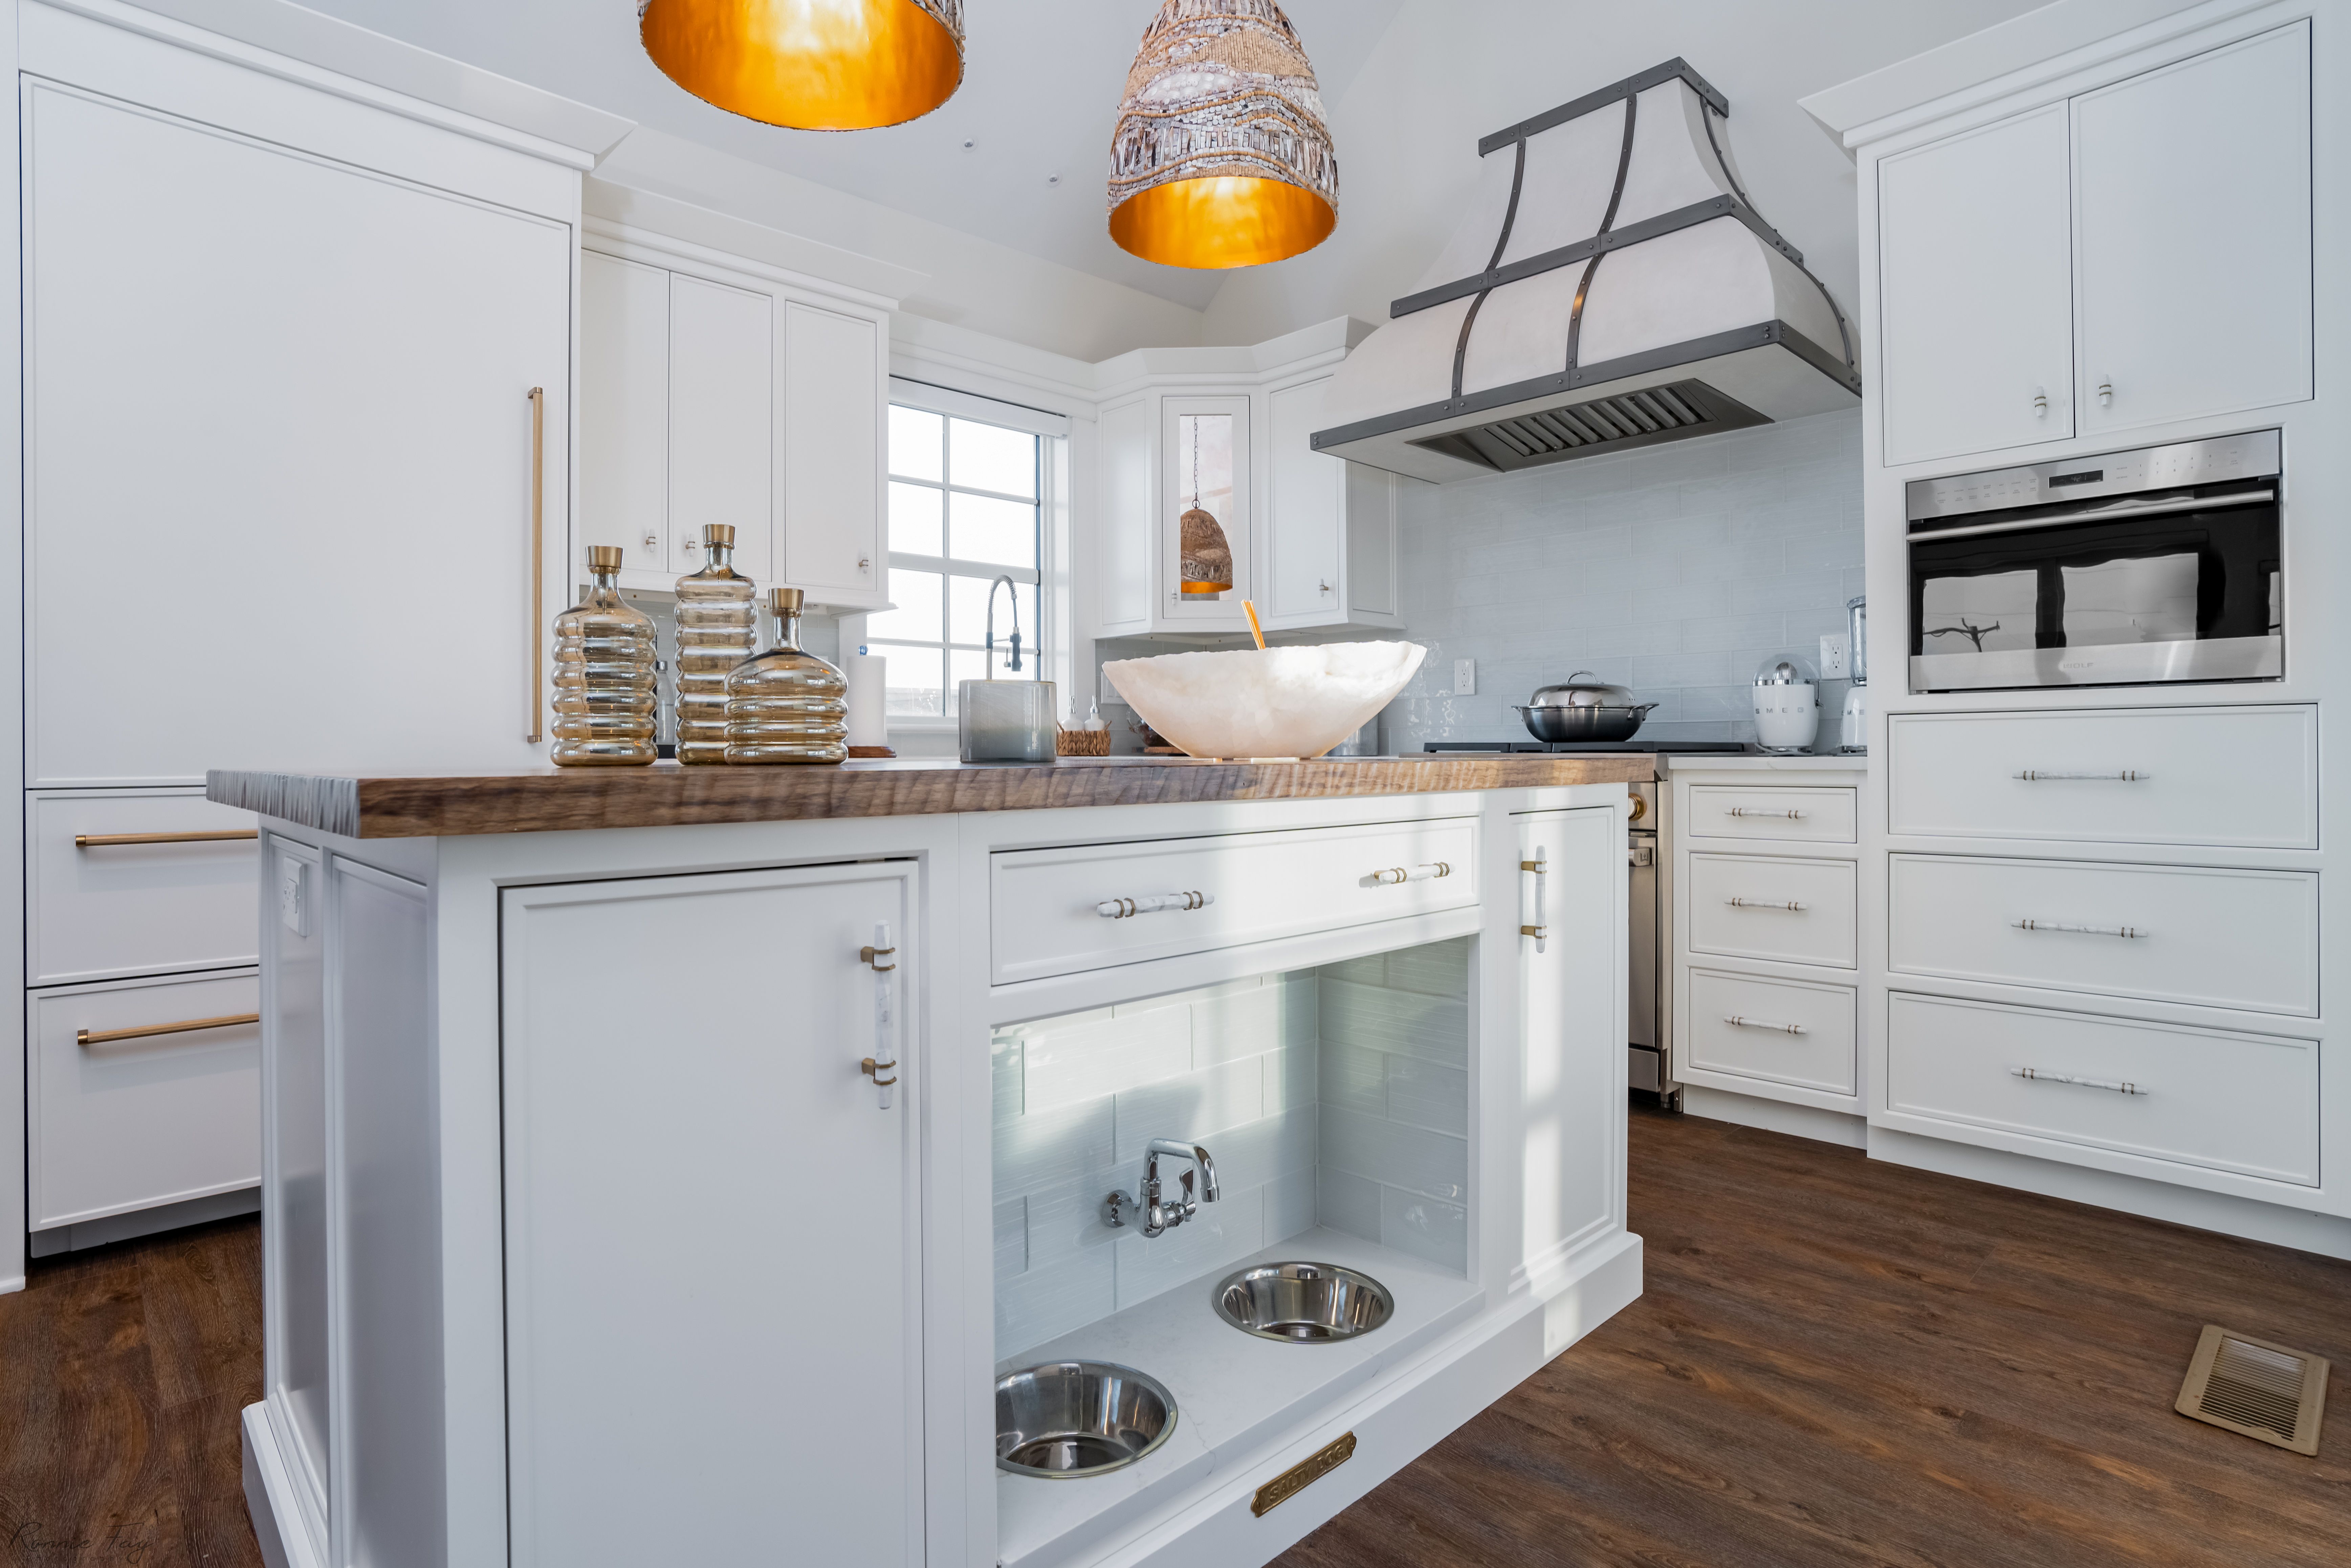
A butcher block or walnut top. A thick wood top set into an otherwise white kitchen adds instant warmth and a prep surface that's lovely to work on. It does ask for a little care: plan on periodic oiling or sealing, especially in a home that sees shore humidity.
-
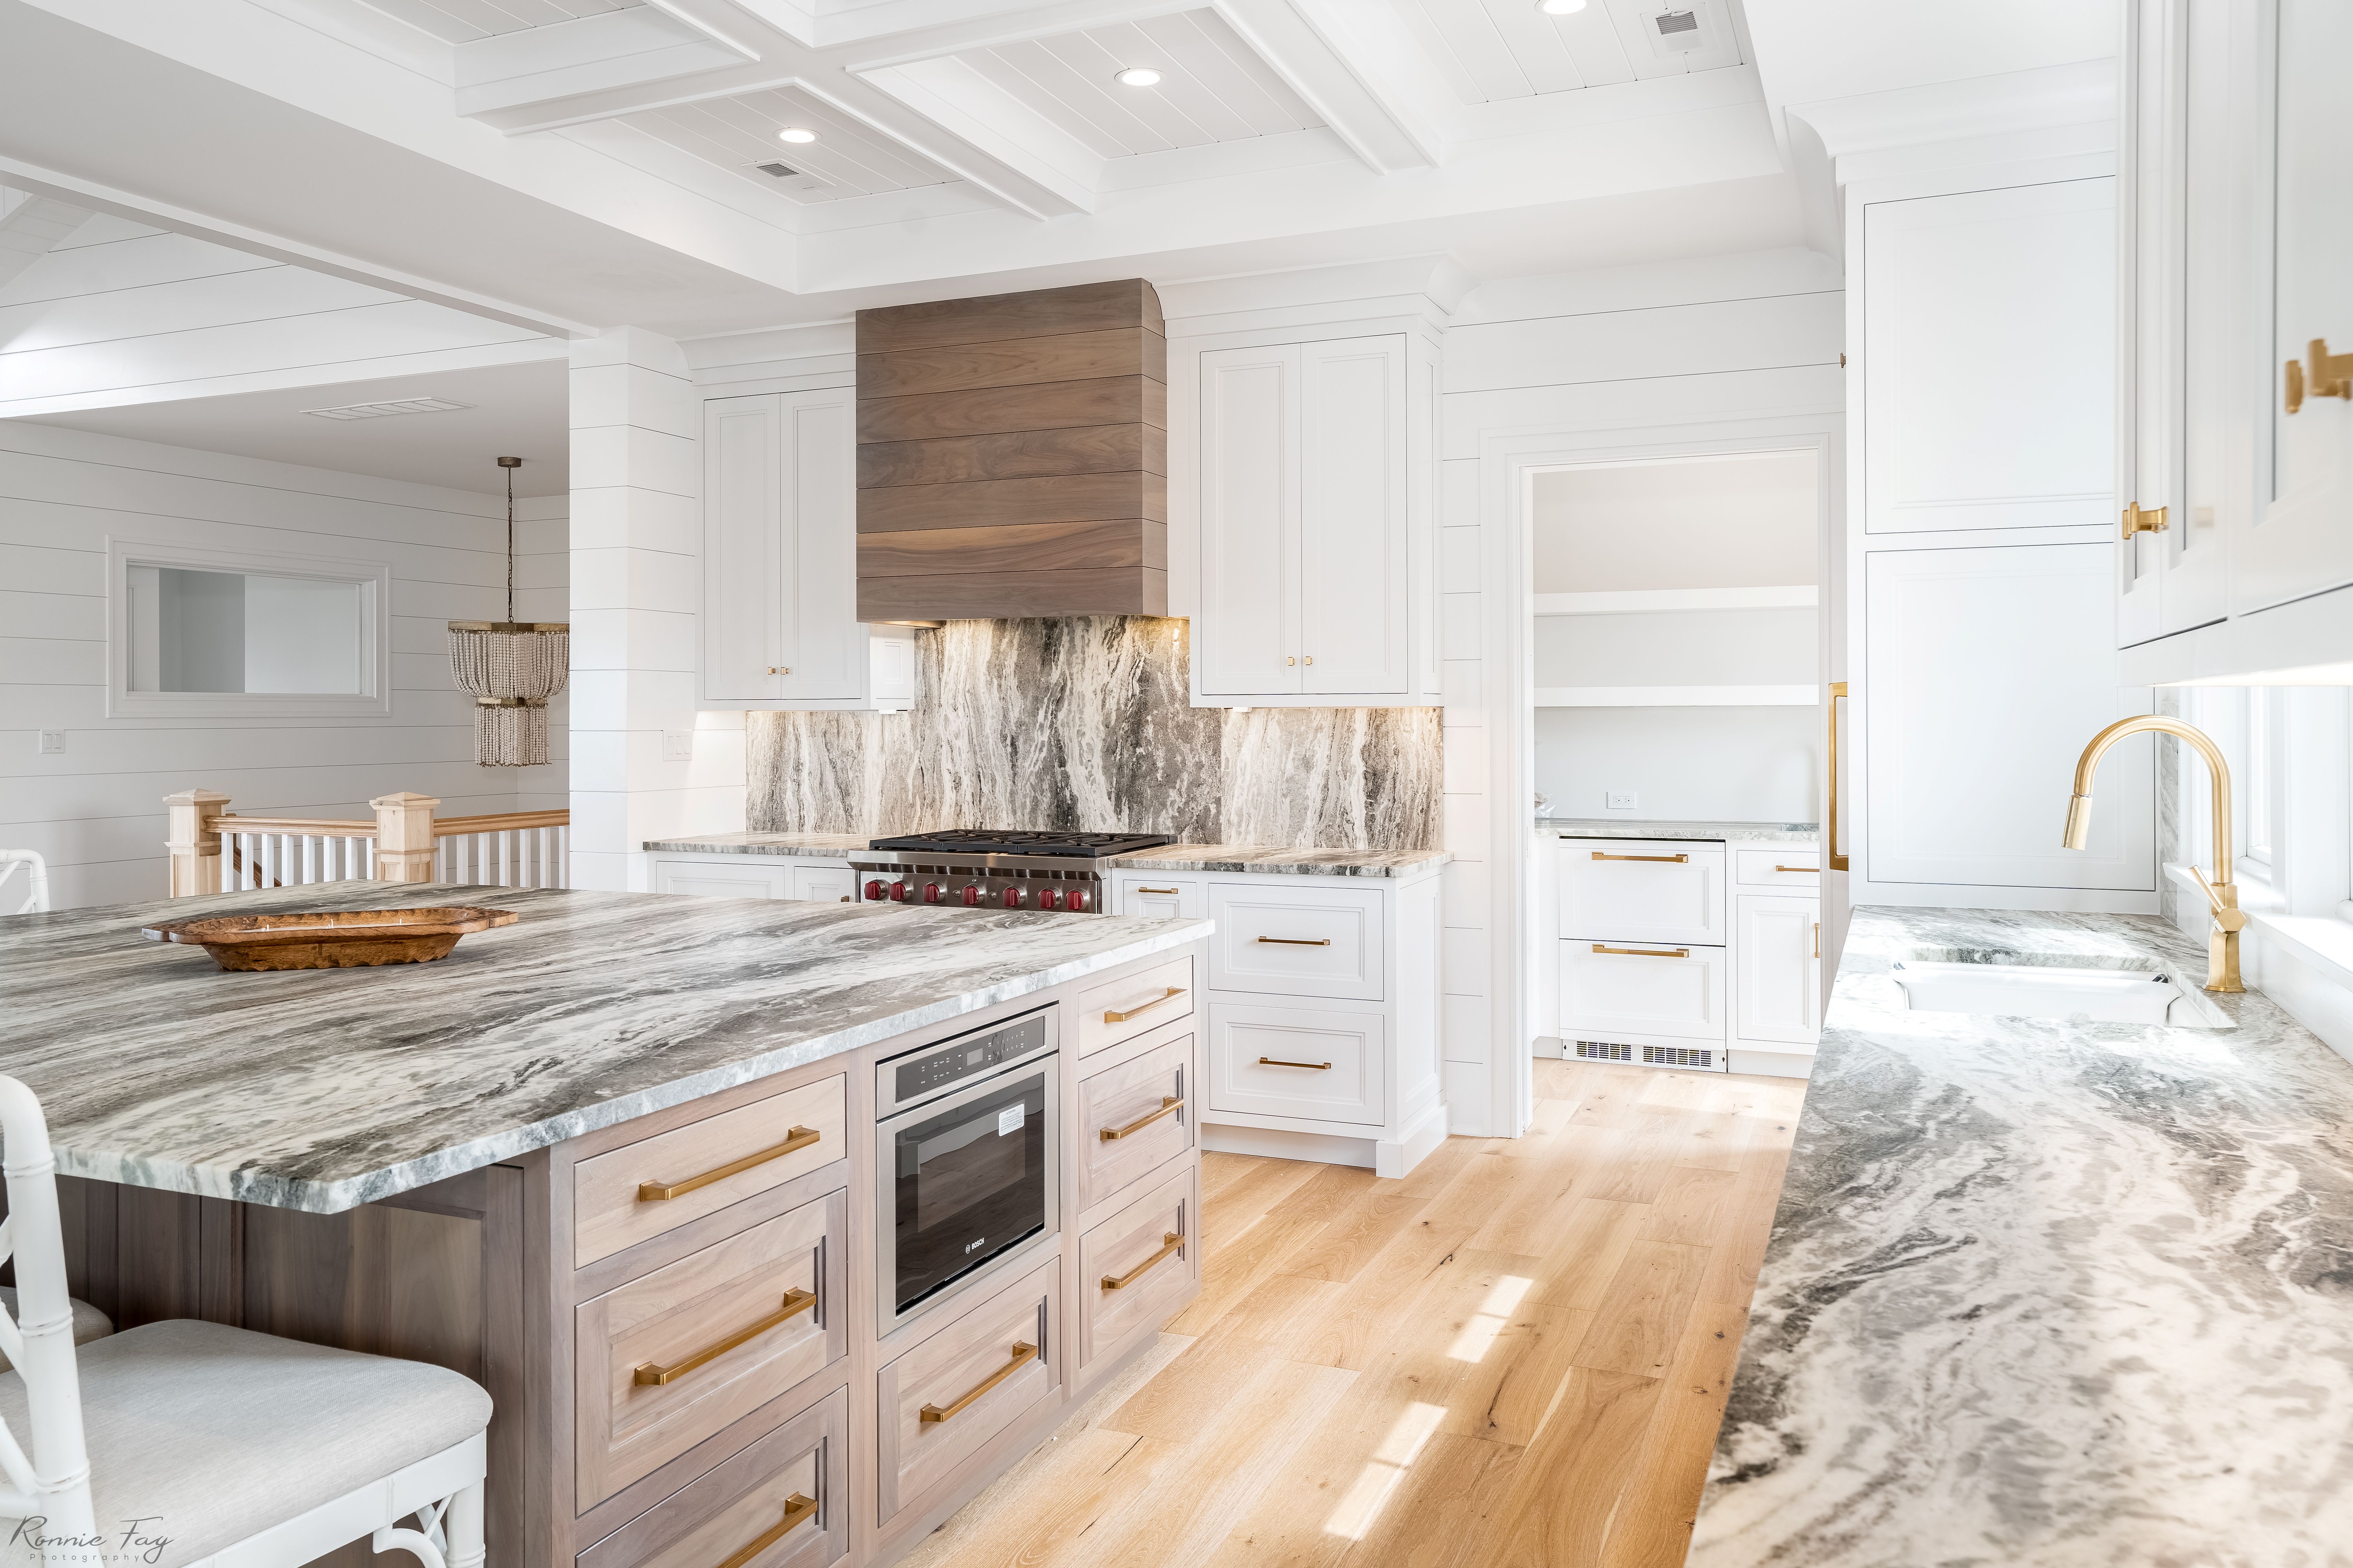
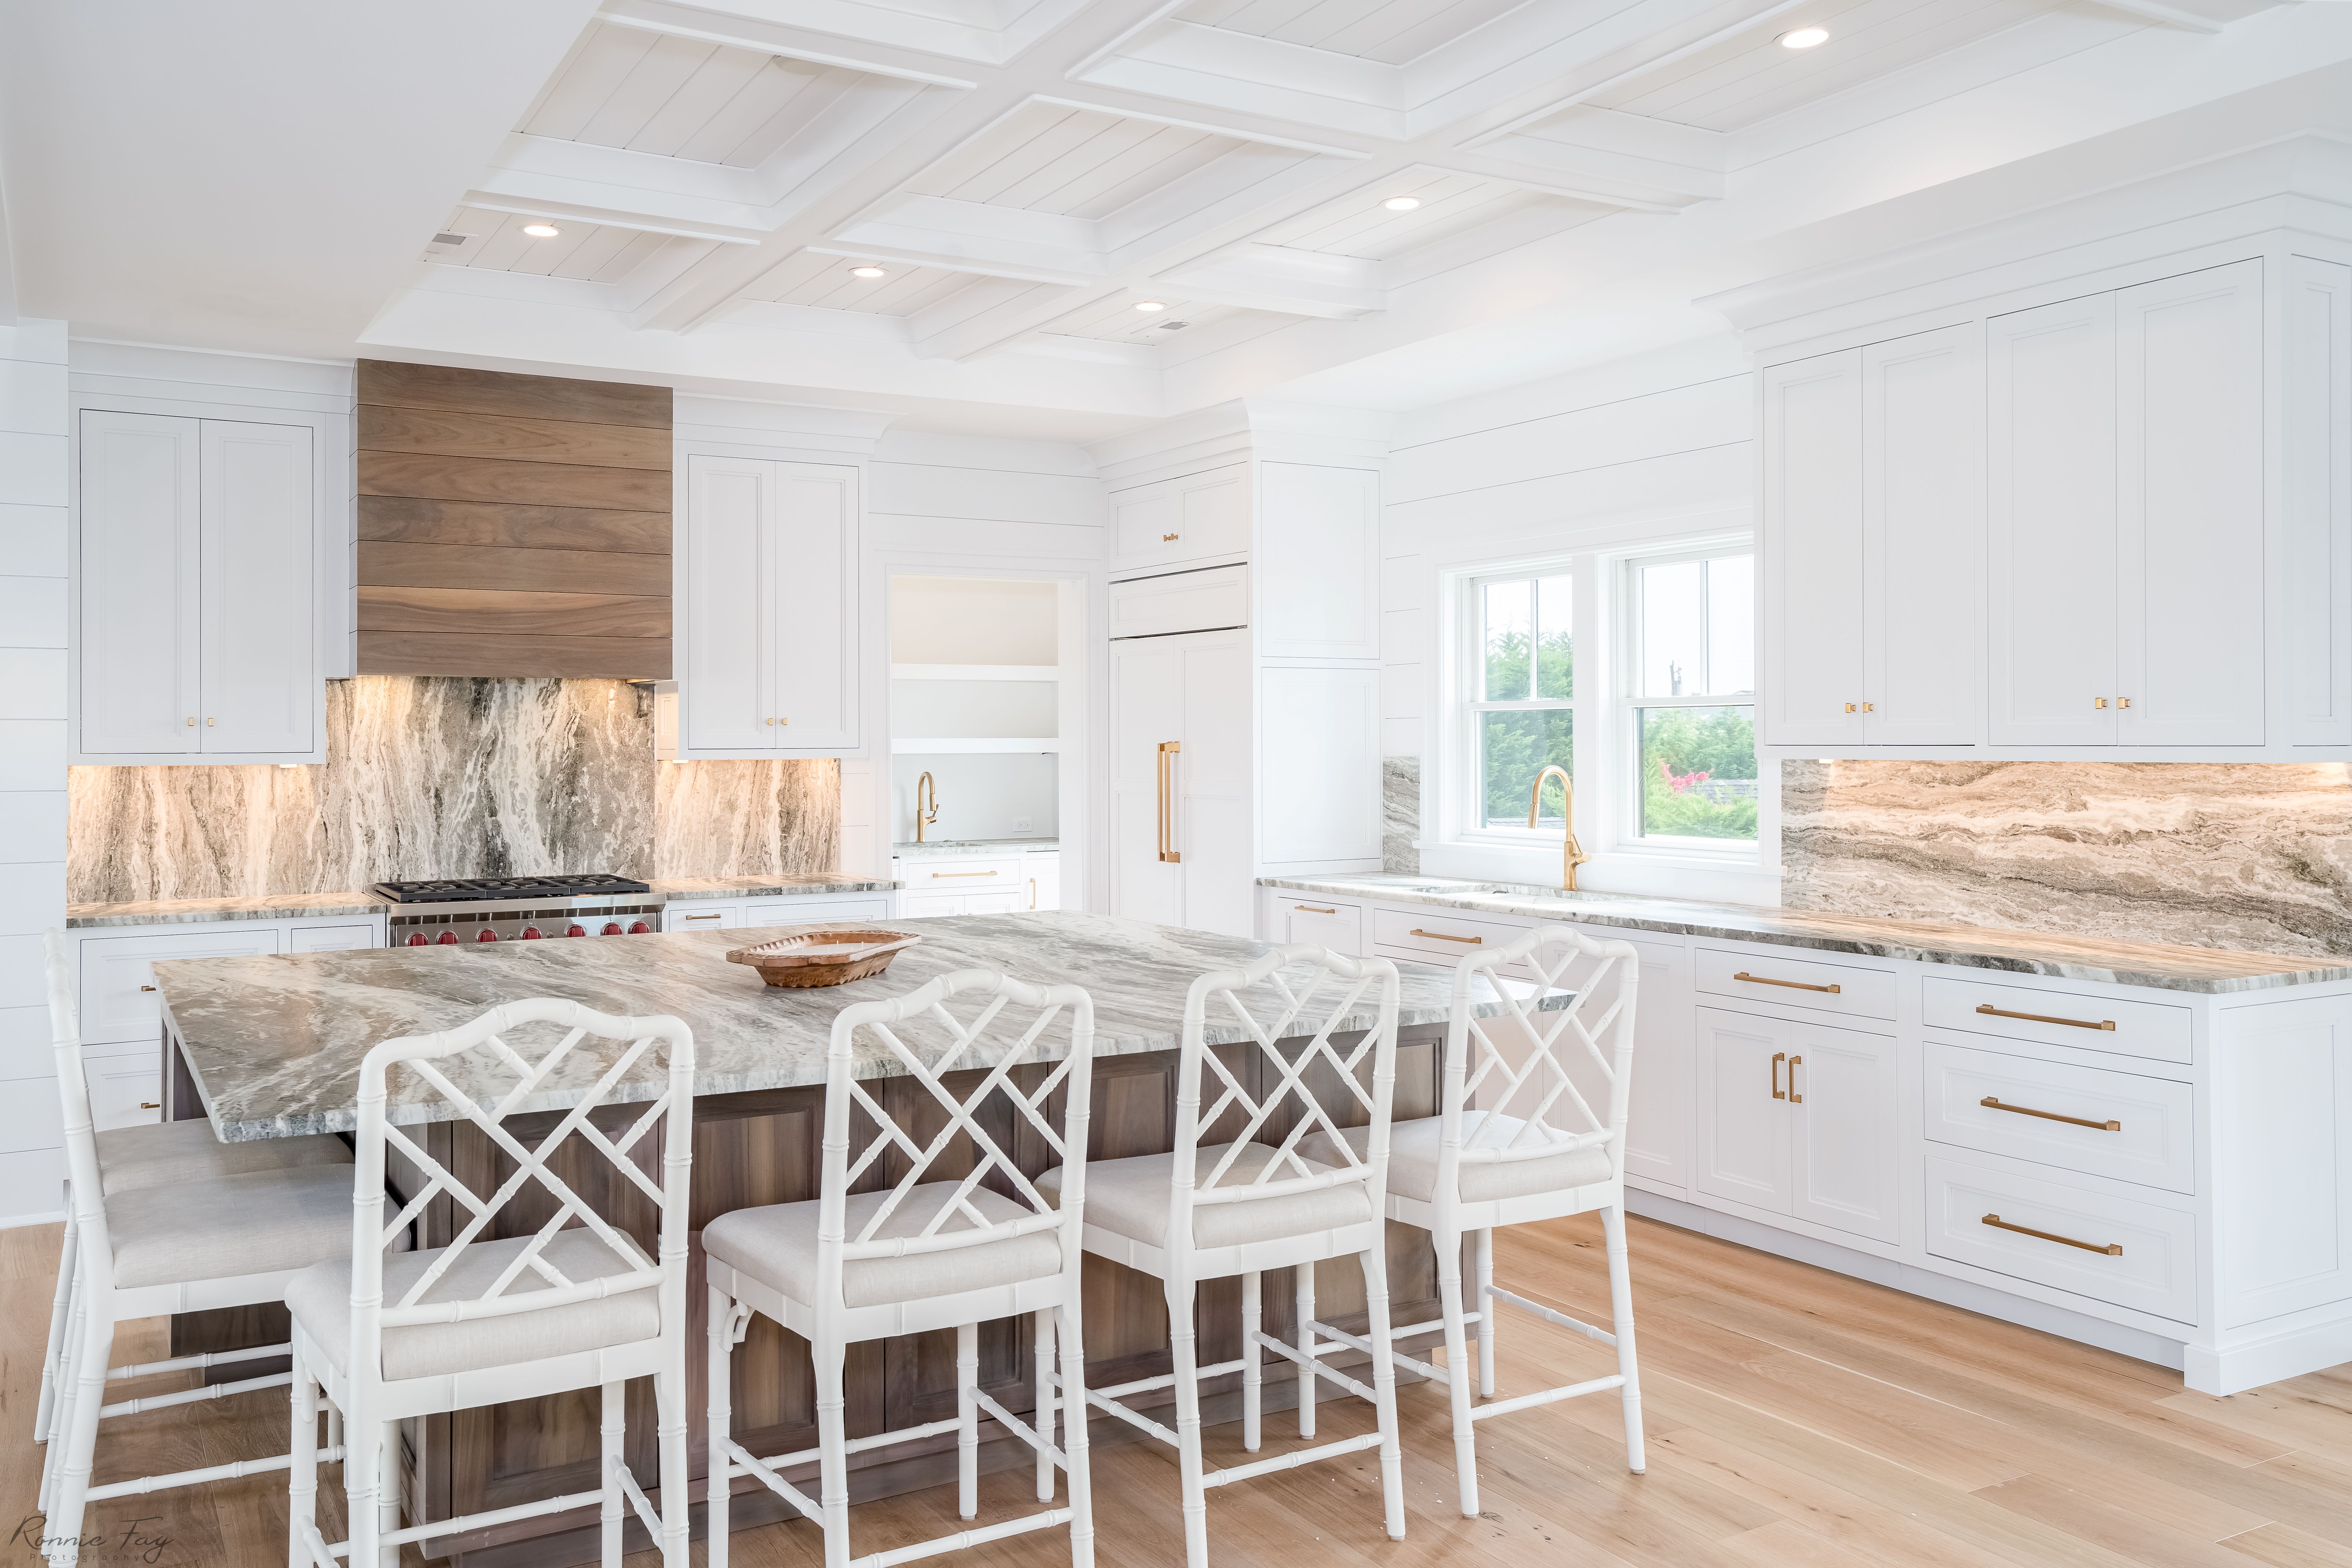
Stained cabinetry on the base. A warm, stained base beneath a stone top, with white perimeter cabinets, gives you the two-tone look without overwhelming the room. It was one of our favorite combinations this past year.
-
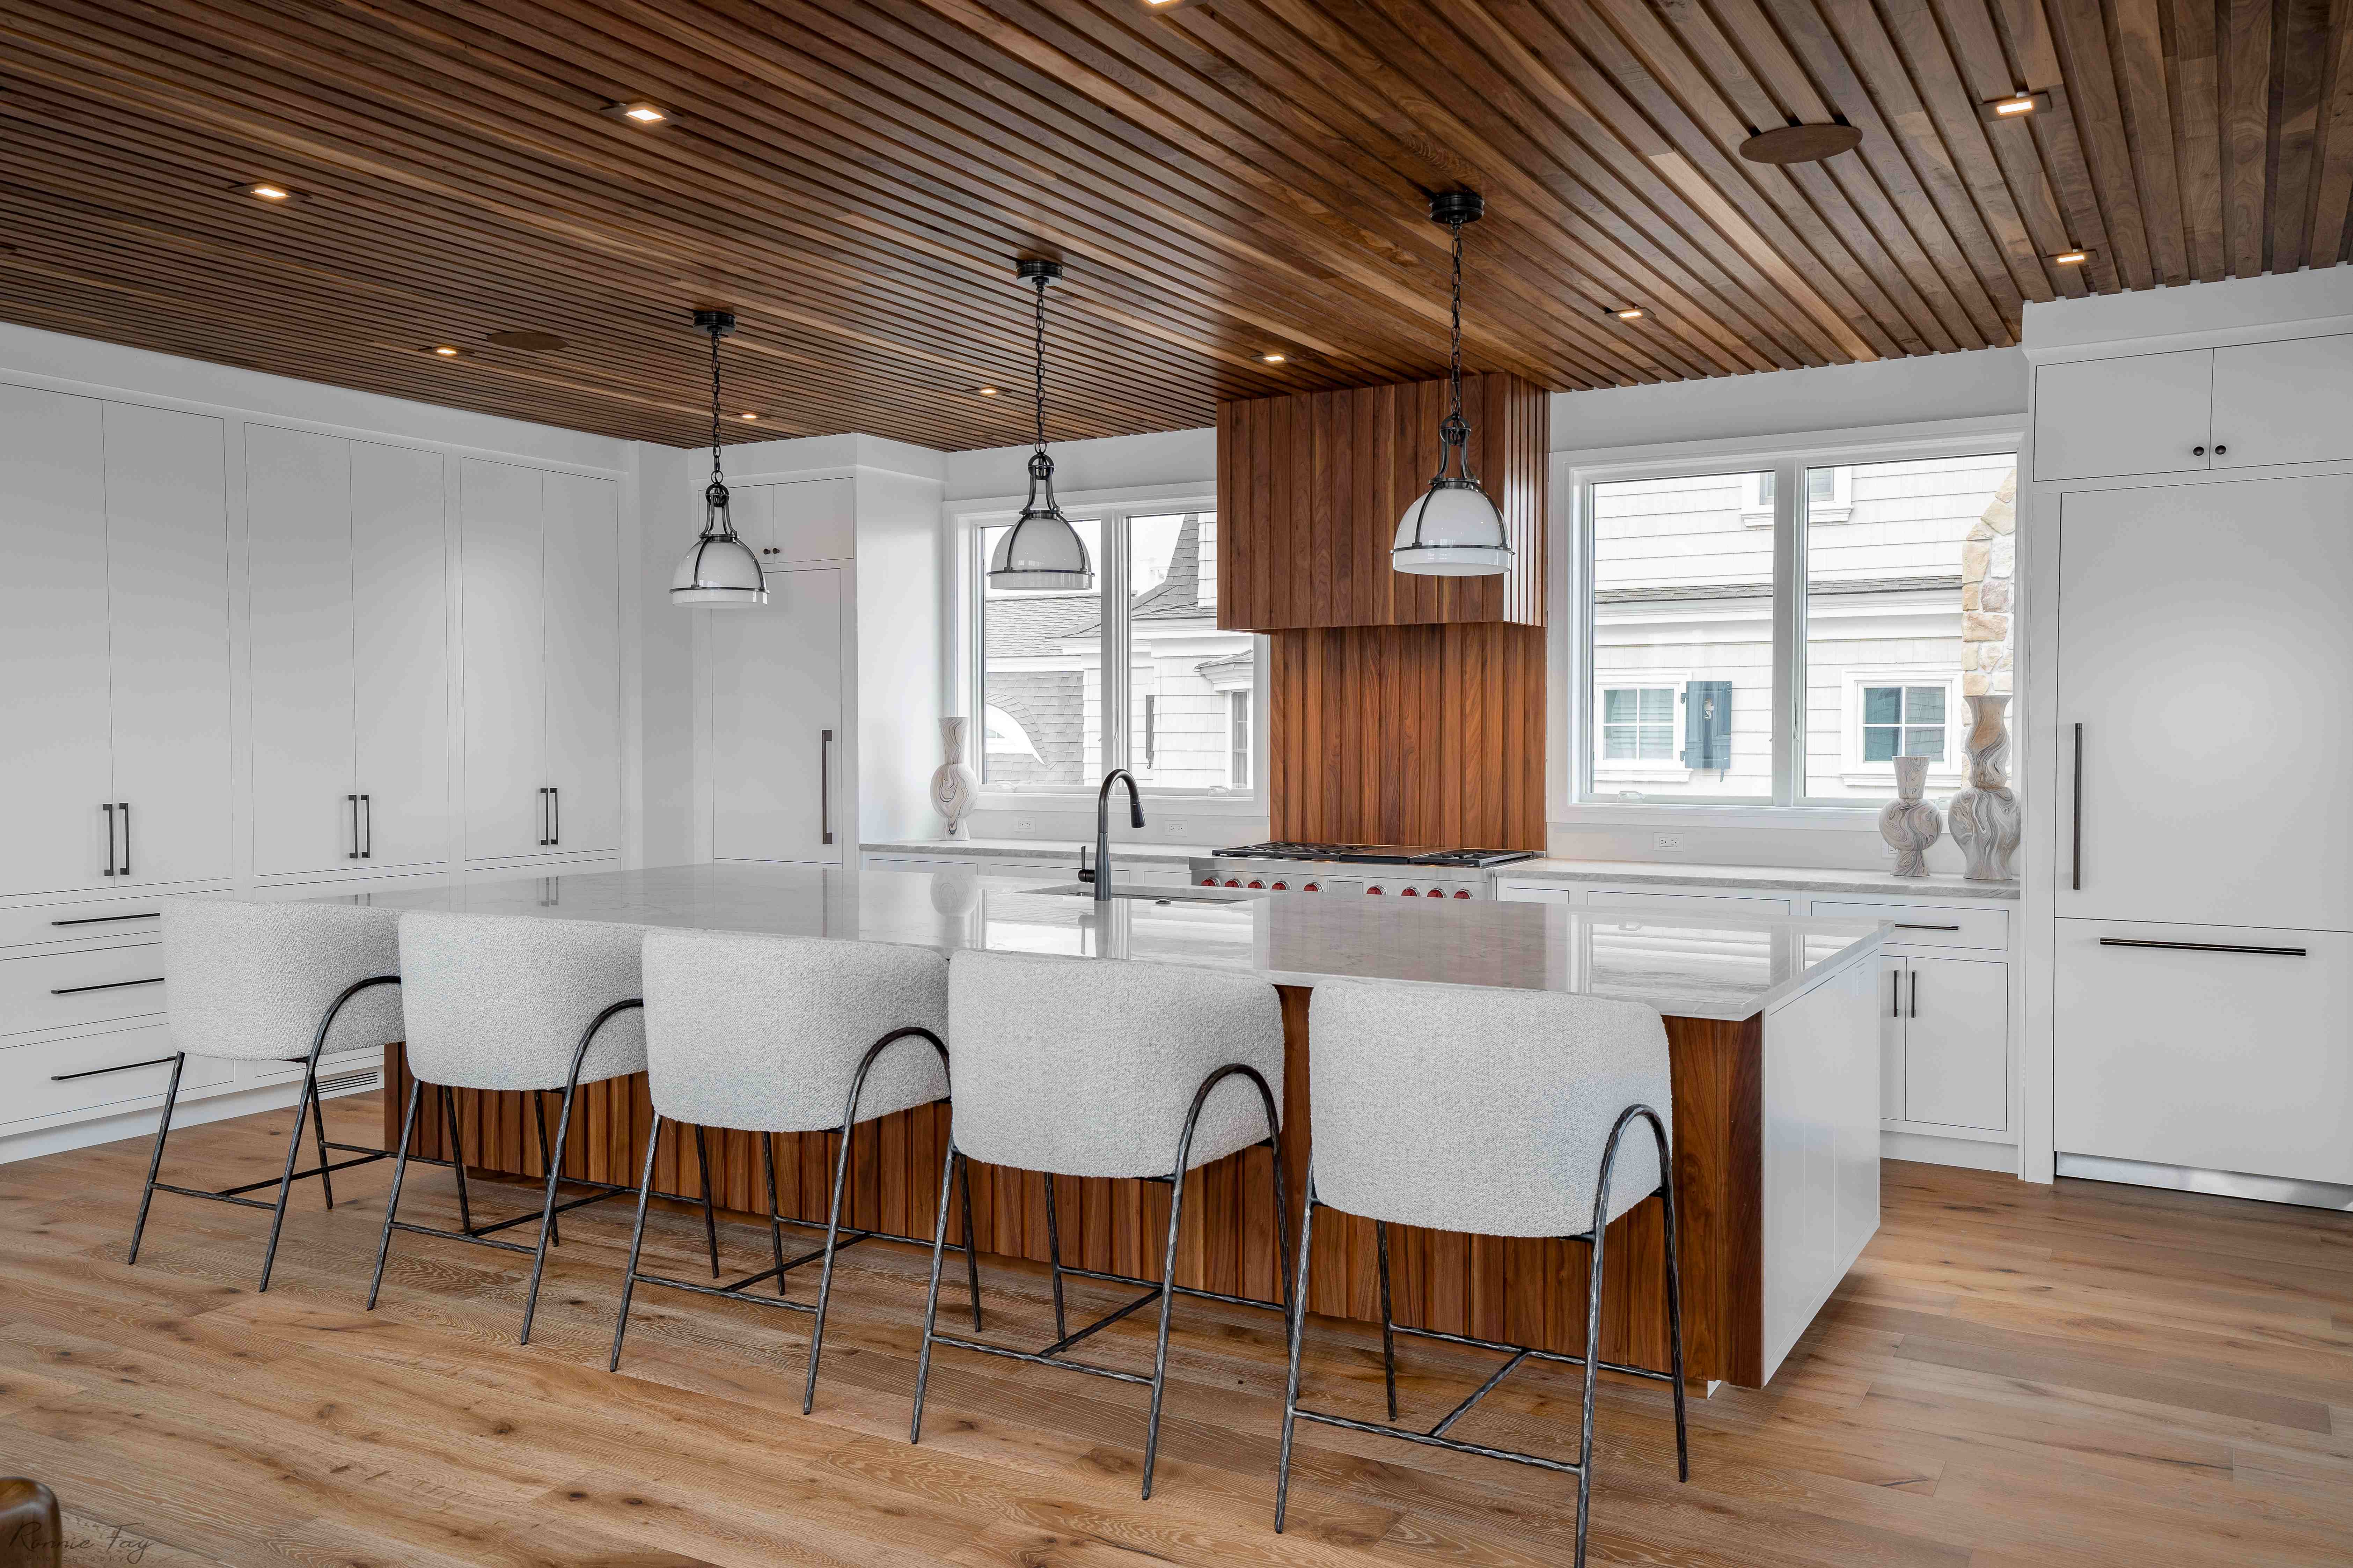
Fluted or slatted walnut. Vertical wood detailing on the island's seating side adds texture and a custom, furniture-like quality, especially when the wood echoes a hood or ceiling detail elsewhere in the room.
5. Build In the Details You'll Actually Use
The island is prime real estate for function, and thoughtful details are what separate a custom kitchen from a standard one.
-
A built-in pet station. In one of our favorite recent kitchens, we built a recessed feeding nook into the island itself, complete with tiled walls, a small wall-mounted faucet, and a pair of stainless bowls. It keeps the floor clear and, honestly, the dog has never been happier.
-
A sink or prep sink. Placing a sink in the island lets the cook face the room instead of a wall.
-
Beverage refrigeration and display cabinets. Moving the beverage fridge to the edge of the kitchen keeps guests out of the cook's way.
-
Outlets and charging. A discreet outlet on the island end is a small thing you'll appreciate every single day.
6. Don't Forget the Light Above
The pendants over your island are the jewelry of the kitchen, and they set the tone more than almost any other single fixture. We've used woven rattan shades for an organic coastal look, clear seeded-glass domes for a classic feel, and sleek globes with brass hardware for a more polished finish. Whatever you choose, scale matters: pendants should feel generous over the island, and hanging them roughly 30 to 36 inches above the counter keeps sightlines open.
Choosing the Right Stone
Your island countertop gets the most use of any surface in the house, so it's worth choosing carefully. Quartz offers durability and easy upkeep, while natural quartzite and marble bring one-of-a-kind movement and drama. Our countertop partners at StoneCrafters help our clients select and fabricate slabs that match the vision for the room, from subtle veining to bold, sweeping patterns.
Ready to Rethink Your Island?
Whether you're building new or updating an existing kitchen, the island is one of the highest-impact places to invest. If you're thinking about a renovation heading into the new year, we'd love to walk through the options with you. Reach out to our design team to schedule a consultation, and let's design an island your whole family and every holiday guest will gather around.